… and went over the top. And build more. And repainted a lot.
Let’s start from the beginning. As the long time followers will know, we used to play WWII games using the „The Face Of Battle“ rules. Those were skirmish rules in the classic sense and worked really well with individualy based crews for crew served weapons.
Roughly a decade ago we switched to Battlegroup since we wanted something that catered for bigger games and was a little faster. Battlegroup does not really care much for the basing. So neither did I. But when I started adding some completely new forces in recent years (my 1939-41 Germans, late war Fallschirmjäger and Poles) I started basing crews served weapons and some small teams on multi bases. And I really liked the looks. So I made the decision to do everything new fitting that criteria this way and slowly rebase the old stuff. My Americans already got the treatment two years ago (man I could have bet that was last year), it was now time to start with my Germans.
Up first is a Bandai Pak40 in 1:48th scale. Which is a bit of an oddball in my collection these days. The roughly 50 year old Bandai kit is the only model kit on the market these days. You can also get a PaK40 in 1:48th from Blitzkrieg, but that is about it and then you you need to crew it.
About the only options for a seperate crew that some to my mind are Victory Force and 1st Corps. Which essentially means a very limited variety. So I decided to go with 1:56th guns (for those guns where I will essentially need multiples), mainly on account of Warlord games offering a choice for virtually any force and setting and secondly because I have some guns with crews from other manufacturers (Empress, Heer46 and Offensive Miniatures) for some of the more odd forces / settings like Gebirgsjäger, Volksgrenadiere, Charkiv and so on.
Why am I telling you this? Well since it is going to be my only PaK40 in this scale, I wanted to pick a setting that limits the chances that I will have to put two of them on the table at the same time. So I went for very late war SS. I already had a crew from Victory Force painted up in a mix of Pea Dot and plain uniforms ready so they would only require a repaint of the helmets to match them to the gun. But then I decided to repaint on the gun as well. Back then I used a green that was too dark and applied the camo with a brush. Unfortunately the paint had been a little thick, so the camo formed a slight raise on the model. I wanted to equalise this with a new coat of camo and some varnish. At least that was the plan. I decided to go for a Resedagrün base and apply a hard edged camo over it by airbrush. What I did not realise back then, was that the masking putty started to flow that day (it was the first heatwave here in Germany that day) which led to extremely raised edges. So essentially I had the same problem as before. I felt it was half as bad after two coats of varnish, but looking at the photos now… I think I will apply some heavy camouflage to the model. So you might see more photos of this one in the future. The crates and loose ammo are from the Rubicon offering below.


Up next is a PaK40 from Rubicon in 1:56th scale. My old system meant, that I could get a way with very few gun models by simply having different crews to place besides them. These days it means that I have more crews than guns. Like a Wehrmacht crew with a strong mid war vibe. Since this is a setting where I could imagine two PaK40 on the table I went with Rubicon here. (There will eventually be another gun from Warlord to add to it.) The gun is completely new, while the crew is one from Victory Force I painted ages ago. Most of the crew are converted from their tri-pod HMG set, only the gunner himself is from the dedicated PaK crew set. Again the helmets were repainted to match the gun, as were the ammo containers (which actually come from the Bandai gun above).


The next gun, a Pak43 is 1:48th scale again. Quite an expensive model from Gaso.Line. But worth it. I repainted the gun, but to be honest, I cannot really say why. I think it was because I did not like something about the camo pattern. The crew is from Victory Force once more. In retrospect I am not really sure about the gunner. While kneeling poses seem ok for the rest of the crew he is very much dwarfed by the gun, which makes him look strange. But Inwould imagine the crew operating the gun under fire, so he might try his best to keep a low profile. And it is a huge gun, which is why the German troops called it Scheunentor (= barn door). Which is also why I put it into a prepared position to break up its outline from the front.


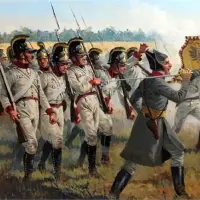
Now the next one is completely new. A PaK97/38. Years ago I saw a painting by Giuseppe Rava and somehow it made me want to model that gun with a SS crew. The model itself is from Rubicon. The gun commander and loader are from the old Bilt Action rules (before they were sold to Warlord Games). I think they originally came with a PaK40, but I always loved them since they are so very dynamic. Since there is only two crew and the PaK97/38 requires a three men crew in Battlegroup, I build a gunner from the Warlord Games plastic SS set and I feel it turned out good. This also gave me a chance to try out a new recipe for Oak Leaf camo.


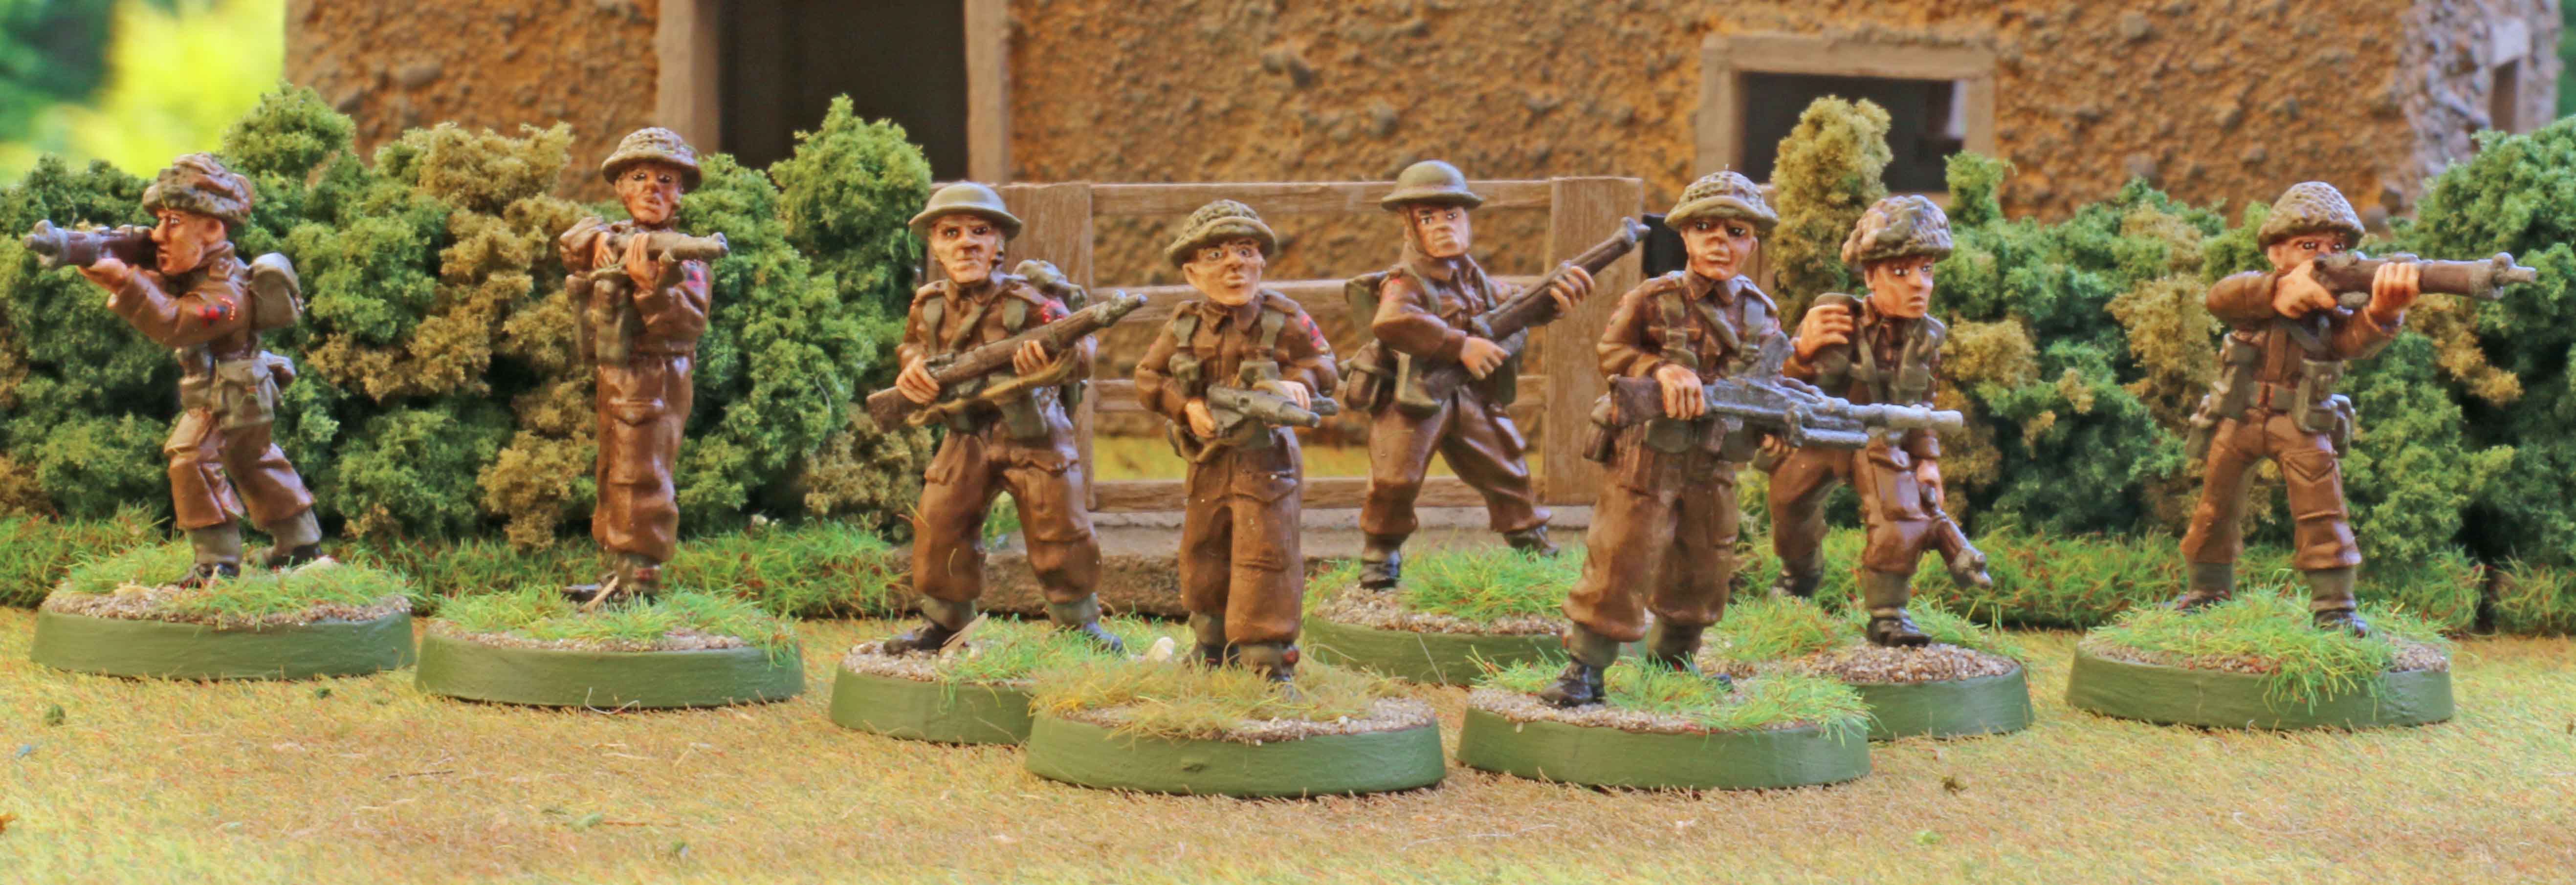
Speaking of trying out… I also bought some new paints for Italian camo that I wanted to give a try. Stössi’s Heroes have a nice set of Sturmmann Otto Funk & Grenadier Klaus Schuh, who served as a MG team in the scout section of the 12th SS in Normandy. The photos of them in Rots are amongst those most used from the fighting in Normandy. Now the minis depict them while the photo was taken and on that occasion they both wore overalls made from Italian camo fabric. The minis are actually really nice, but have two slight „defects“. For one they are a bit short. So glued another thin base onto the slots bases I use to make them about as tall as the other minis I use. The other is that the miniature of Funk is carrying post war NATO ammo boxes. So these had to be replaced with boxes from a Warlord plastic set and some filling with green stuff.


And last are the only minis that were (almost) just rebased. My Wehrmacht artillery spotter team. In a recent game the upper part of the Scherenfernrohr had broken of. When I repaired that, I had to remove the tripod and cut the parts where it broke flat. This lead to some damage to the paint and to make sure it was all uniform, I repainted the whole thing. The spotter and his radio operator where based together as well.


")


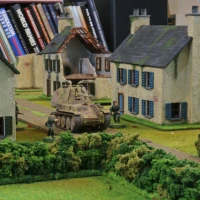
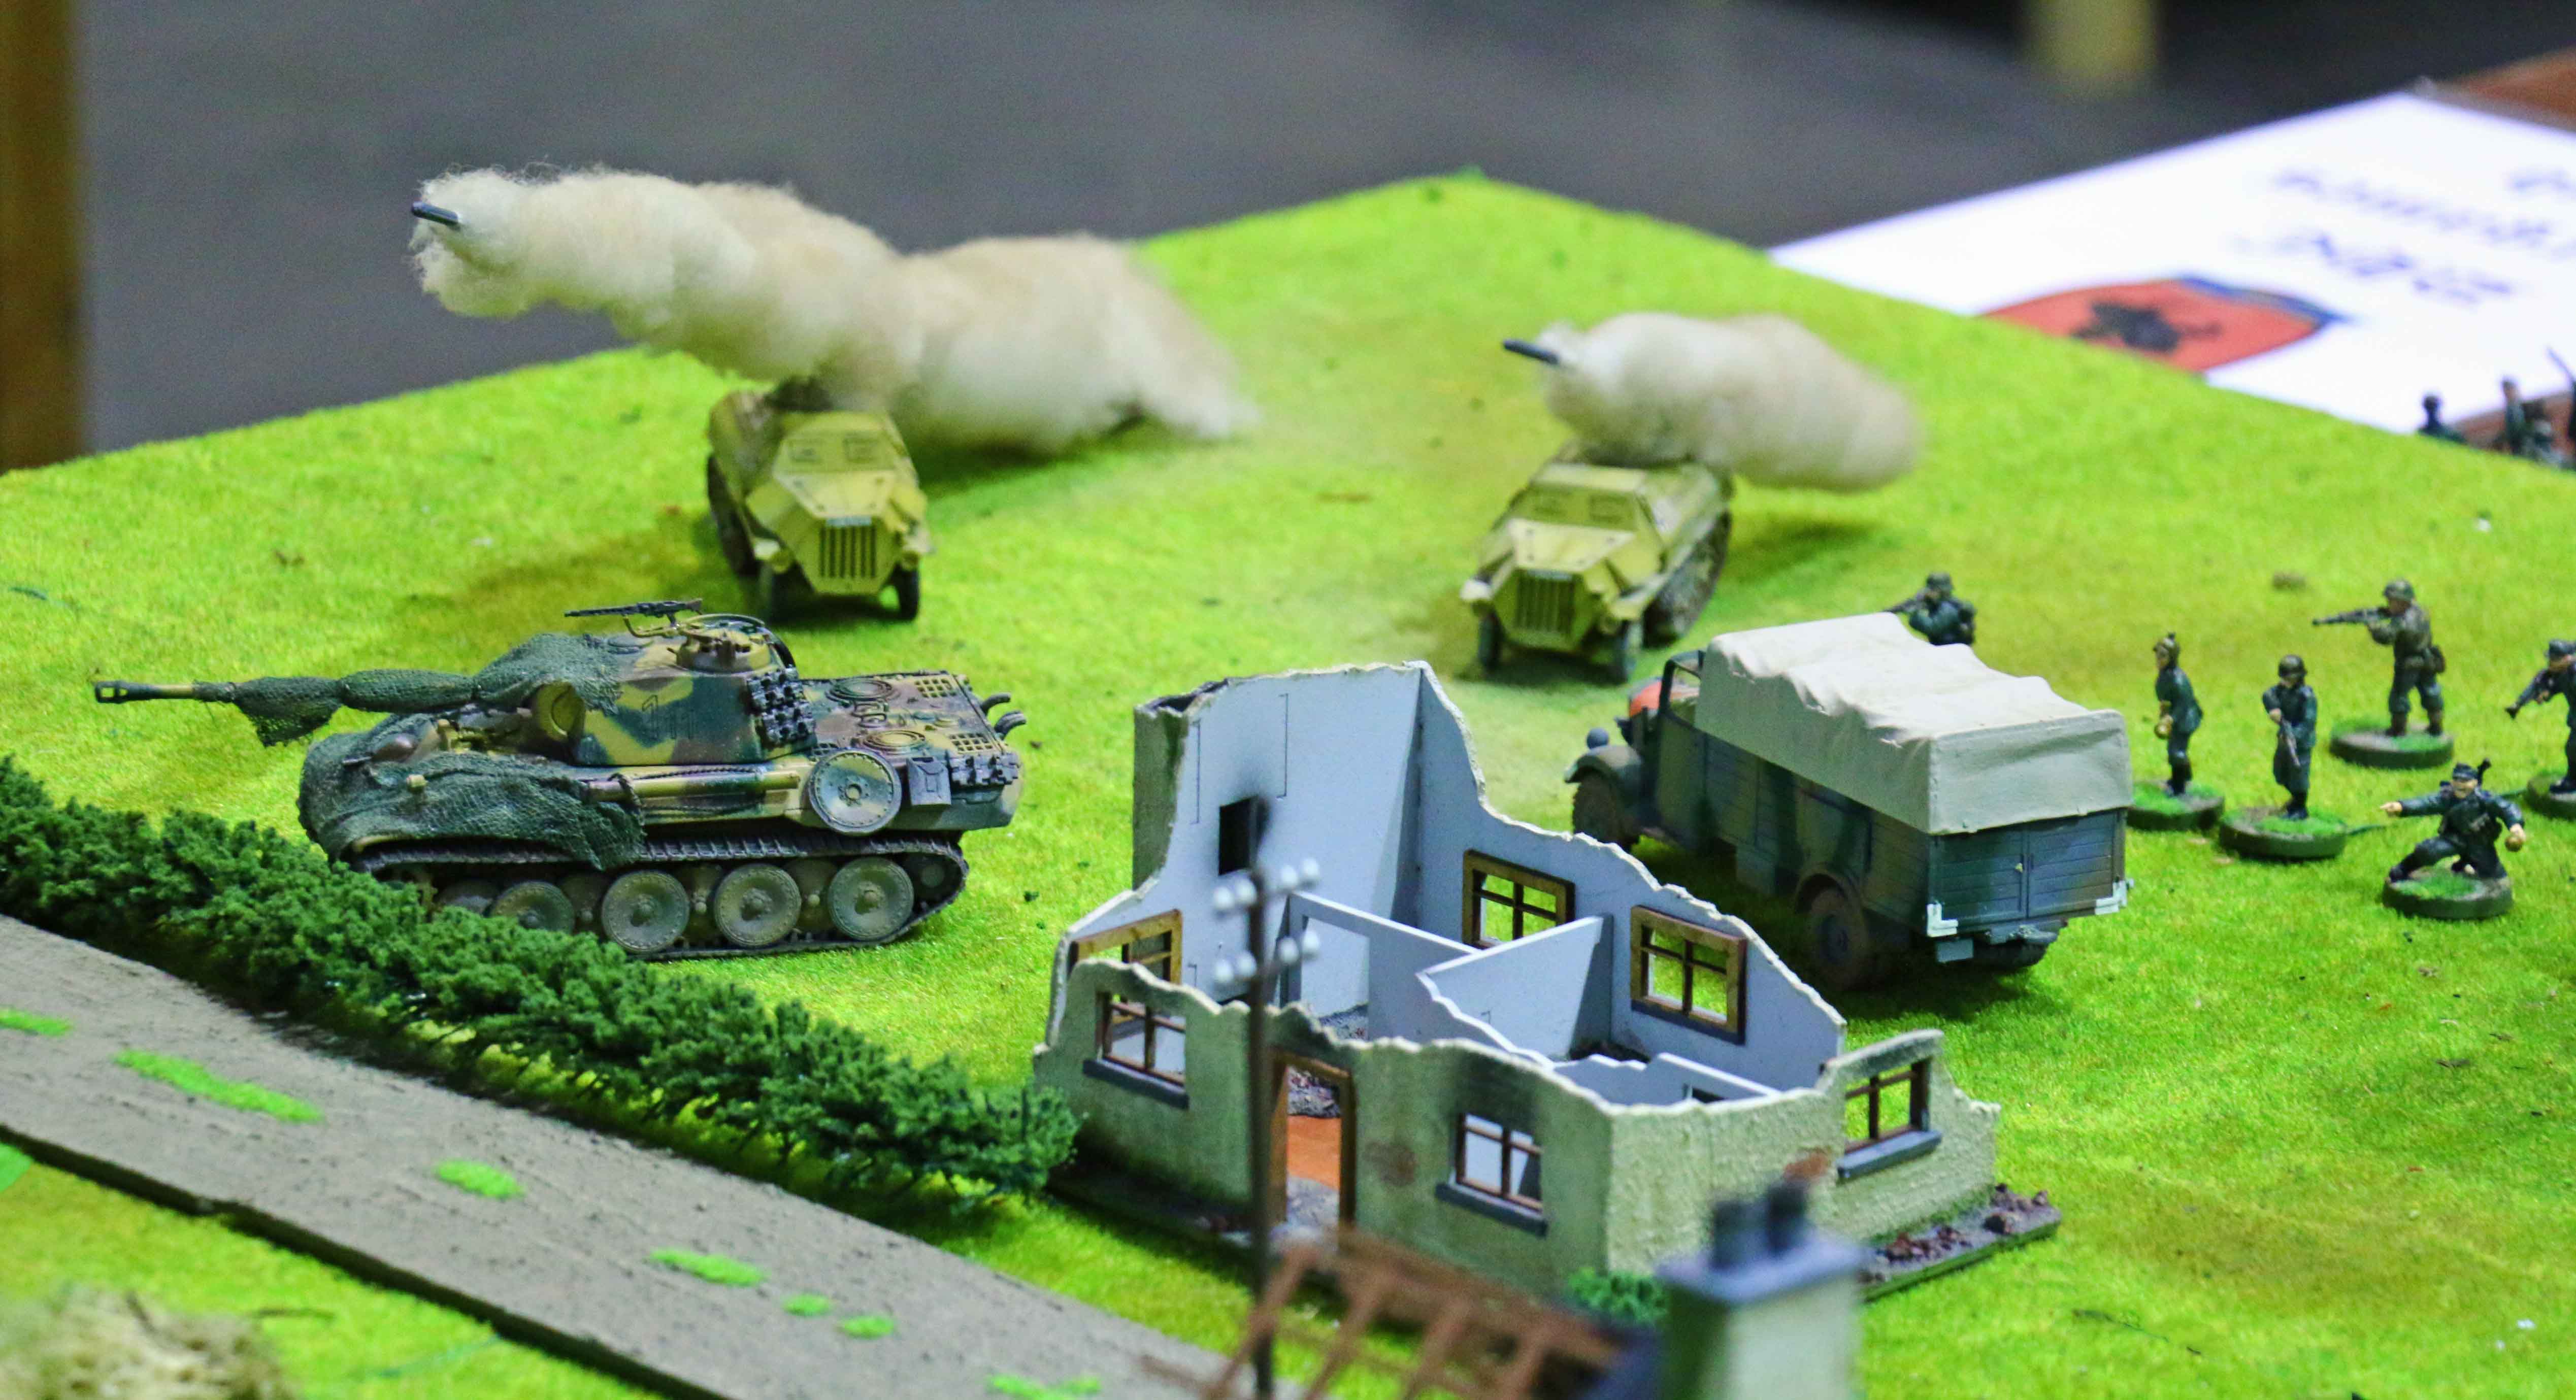
![Truck moving into position to resupply one of the PzKw IV [photo had to be edited to conform with German law]](https://dhcwargamesblog.files.wordpress.com/2014/08/truck-moving-into-position-to-resupply-one-of-the-pzkw-iv-photo-had-to-be-edited-to-conform-with-german-law.jpg)