So after a day of catching up, here is a short recap of the German SAGA Grand Melee that took place this weekend.
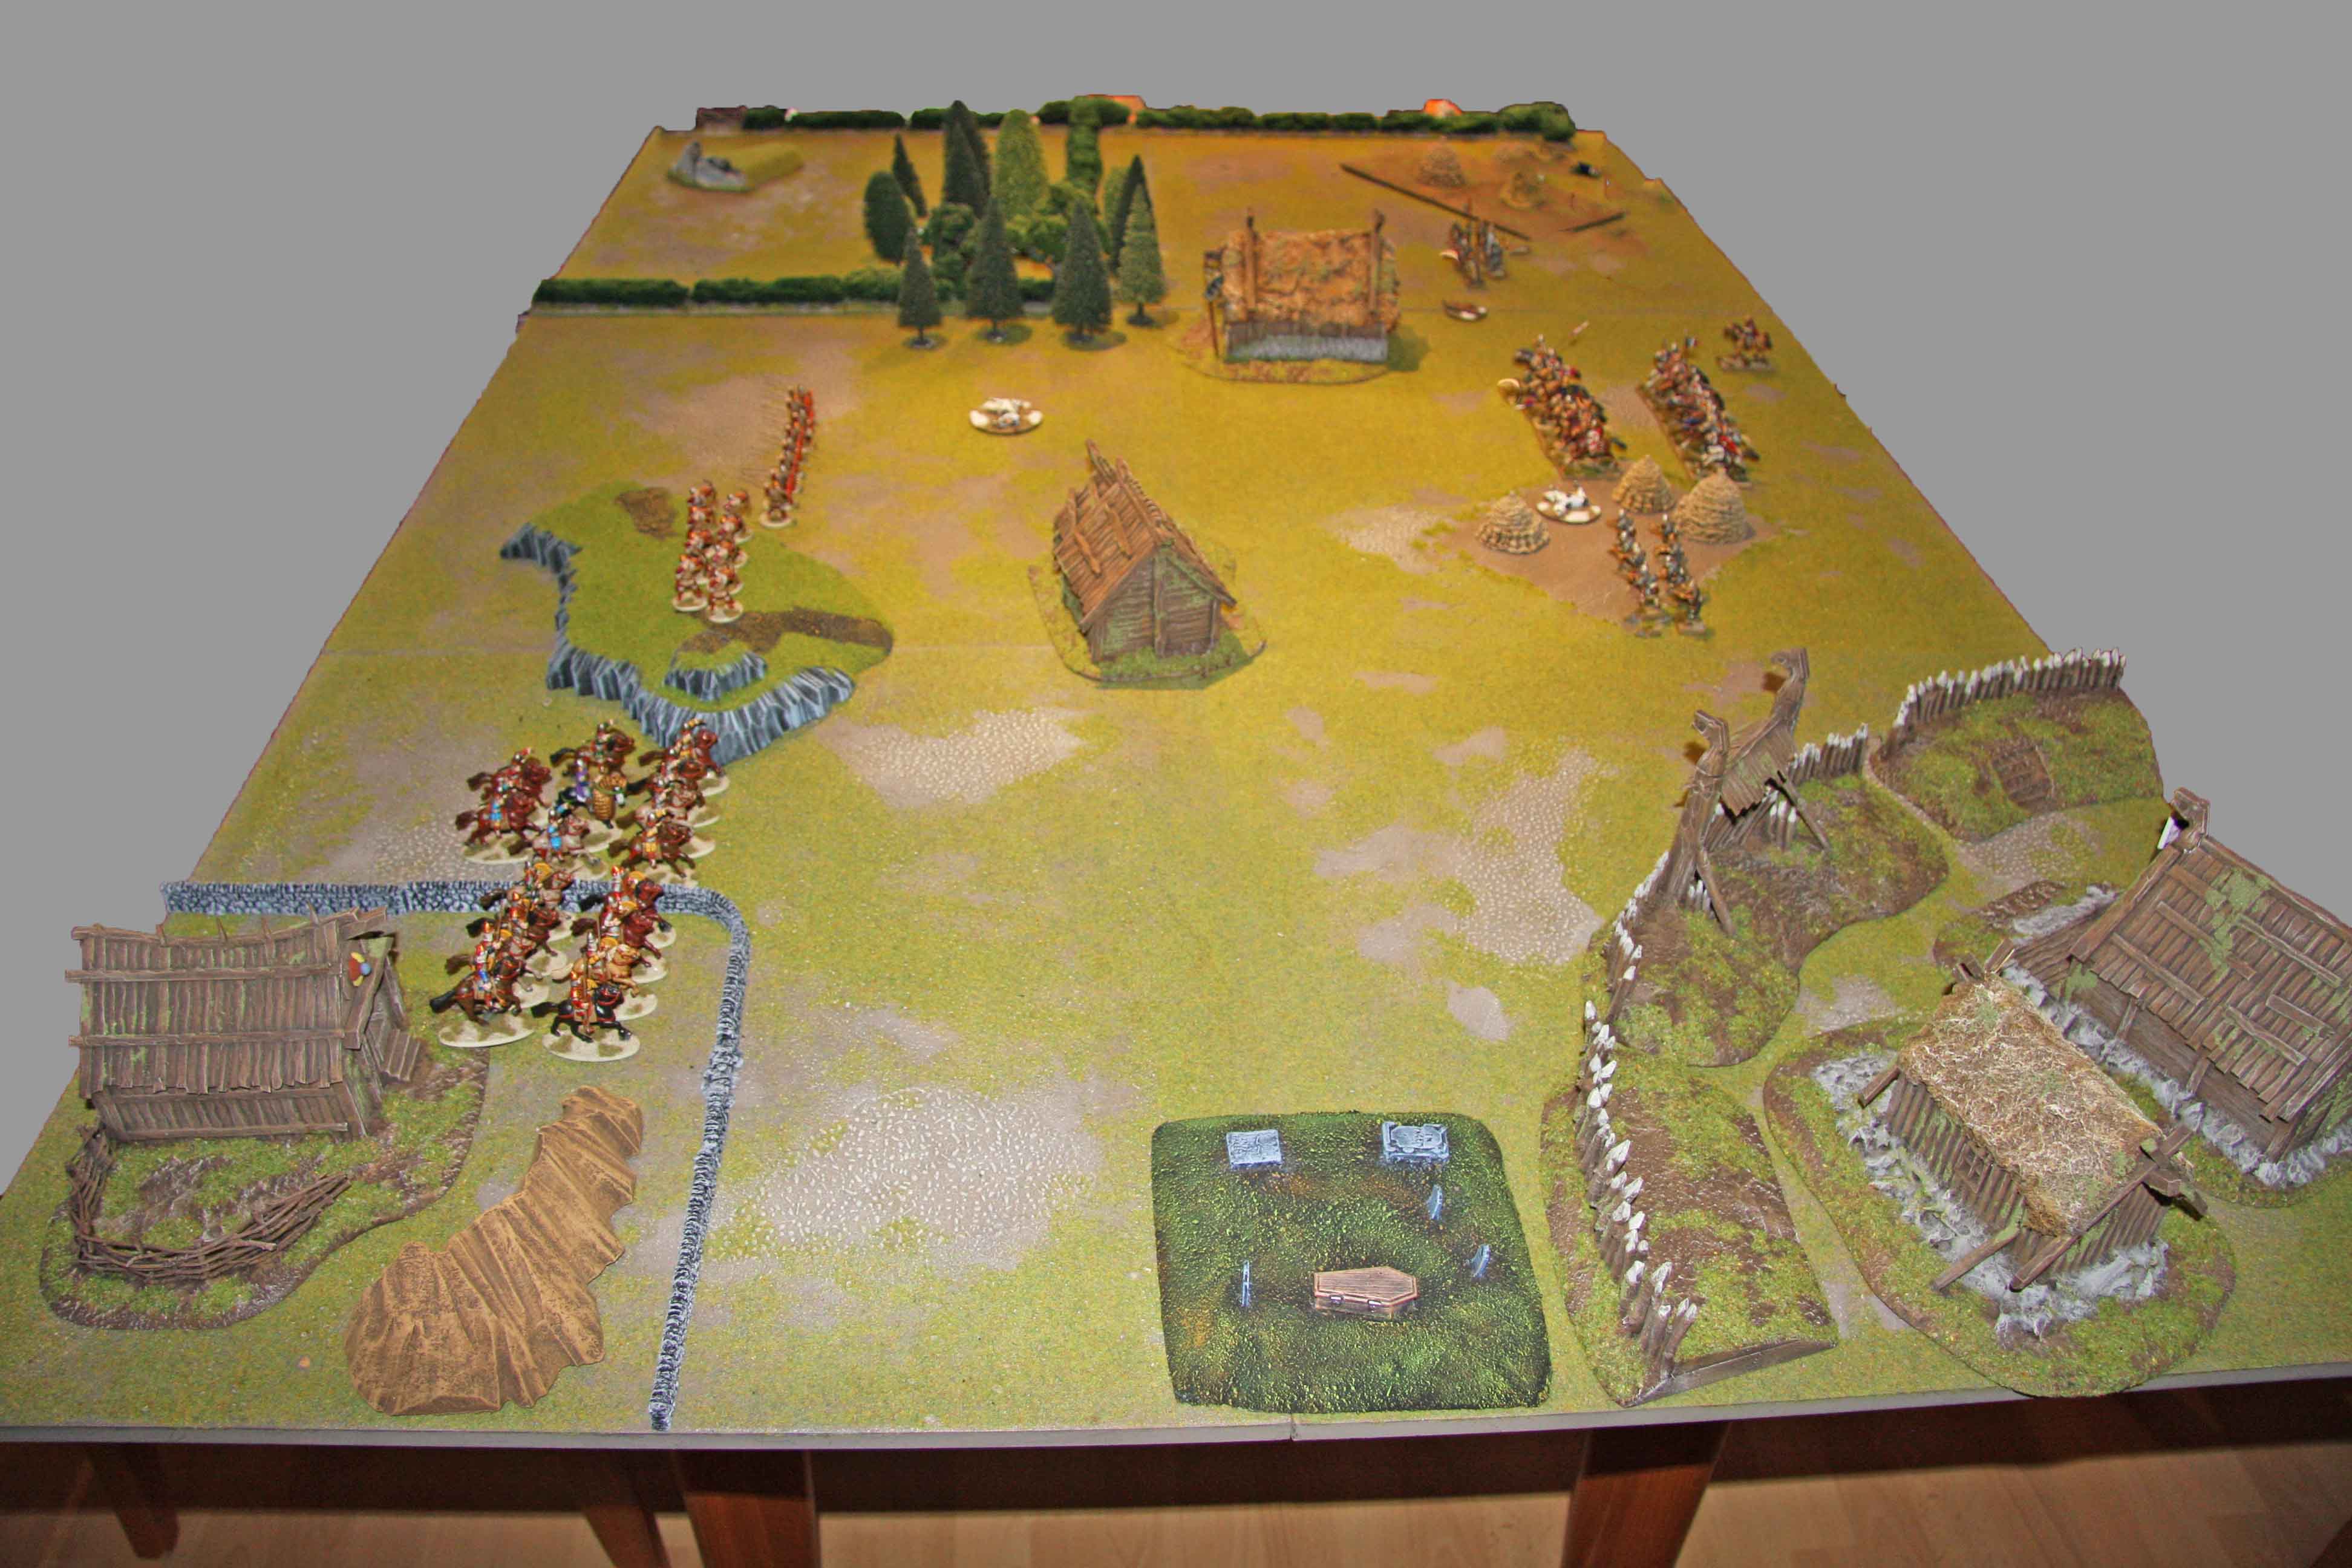
I have to say it was a great weekend. For one I cannot thank the organizers (Mirco and Jens) more. The event was run very smooth and in the most friendly manner. Nothing more than could be hoped for. Also Mirco really made a stalwart effort in the past weeks, creating 16 very nice SAGA tables with superb terrain for us to play on. Thanks a lot for all that!!! [BTW: You might very well take a look at his website Stronghold Terrain for some of the very nice terrain we played upon.]
And I could not have hoped for better companions on this tournament. Each and every single game was great fun and I could not have hoped for better people to play against with! Thank you all!!!
Now on to the event itself. As some readers might have realized, I played Byzantines. I have to admit that they were not my first choice, but I felt that most of the scenarios were best suited for cavalry and since Byzantines were my only cavalry army (which needs and will be remedied soon), this was what I had to play with:
1 mounted Strategos (Warlord)
1 unit of 8 Kavallaroi (mounted Heathguards)
[I had contemplating splitting the unit for some scenarios, but decided against it in the end)
1 unit of 4 Kavallaroi (mounted Heathguards with bows)
1 unit of 8 Kontaratoi (foot Warriors with shields and spears)
2 units of 8 Toxotai each (foot Warriors with bows)
So lets see what they were up against:
1st Game (Clash of the Warlords) vs. Milites Christi:
Milites Christi came as a nasty surprise to me. For the first round, only Dark Age armies were supposed to be paired against one another. Unfortunately the Byzantines were put in the Crusades category on historical grounds and I had to find out very quickly, that a Crusader Army was much better suited to this scenario than a Dark Age one. 😦
My opponent used a Warband led by Raymond du Puy, which featured 12 mounted Heathguards (split into two units of 6), 12 Warriors with crossbows and 4 mounted Warriors.
Right up at the beginning of the game I had to pay dearly for my ignorance. I knew that there was an Errata / FAQ for SAGA. I could not find it online on Thursday night and thought “how much can be in there that is not just cosmetic?”. Well turned out, a lot and I had to learn it all the hard way.
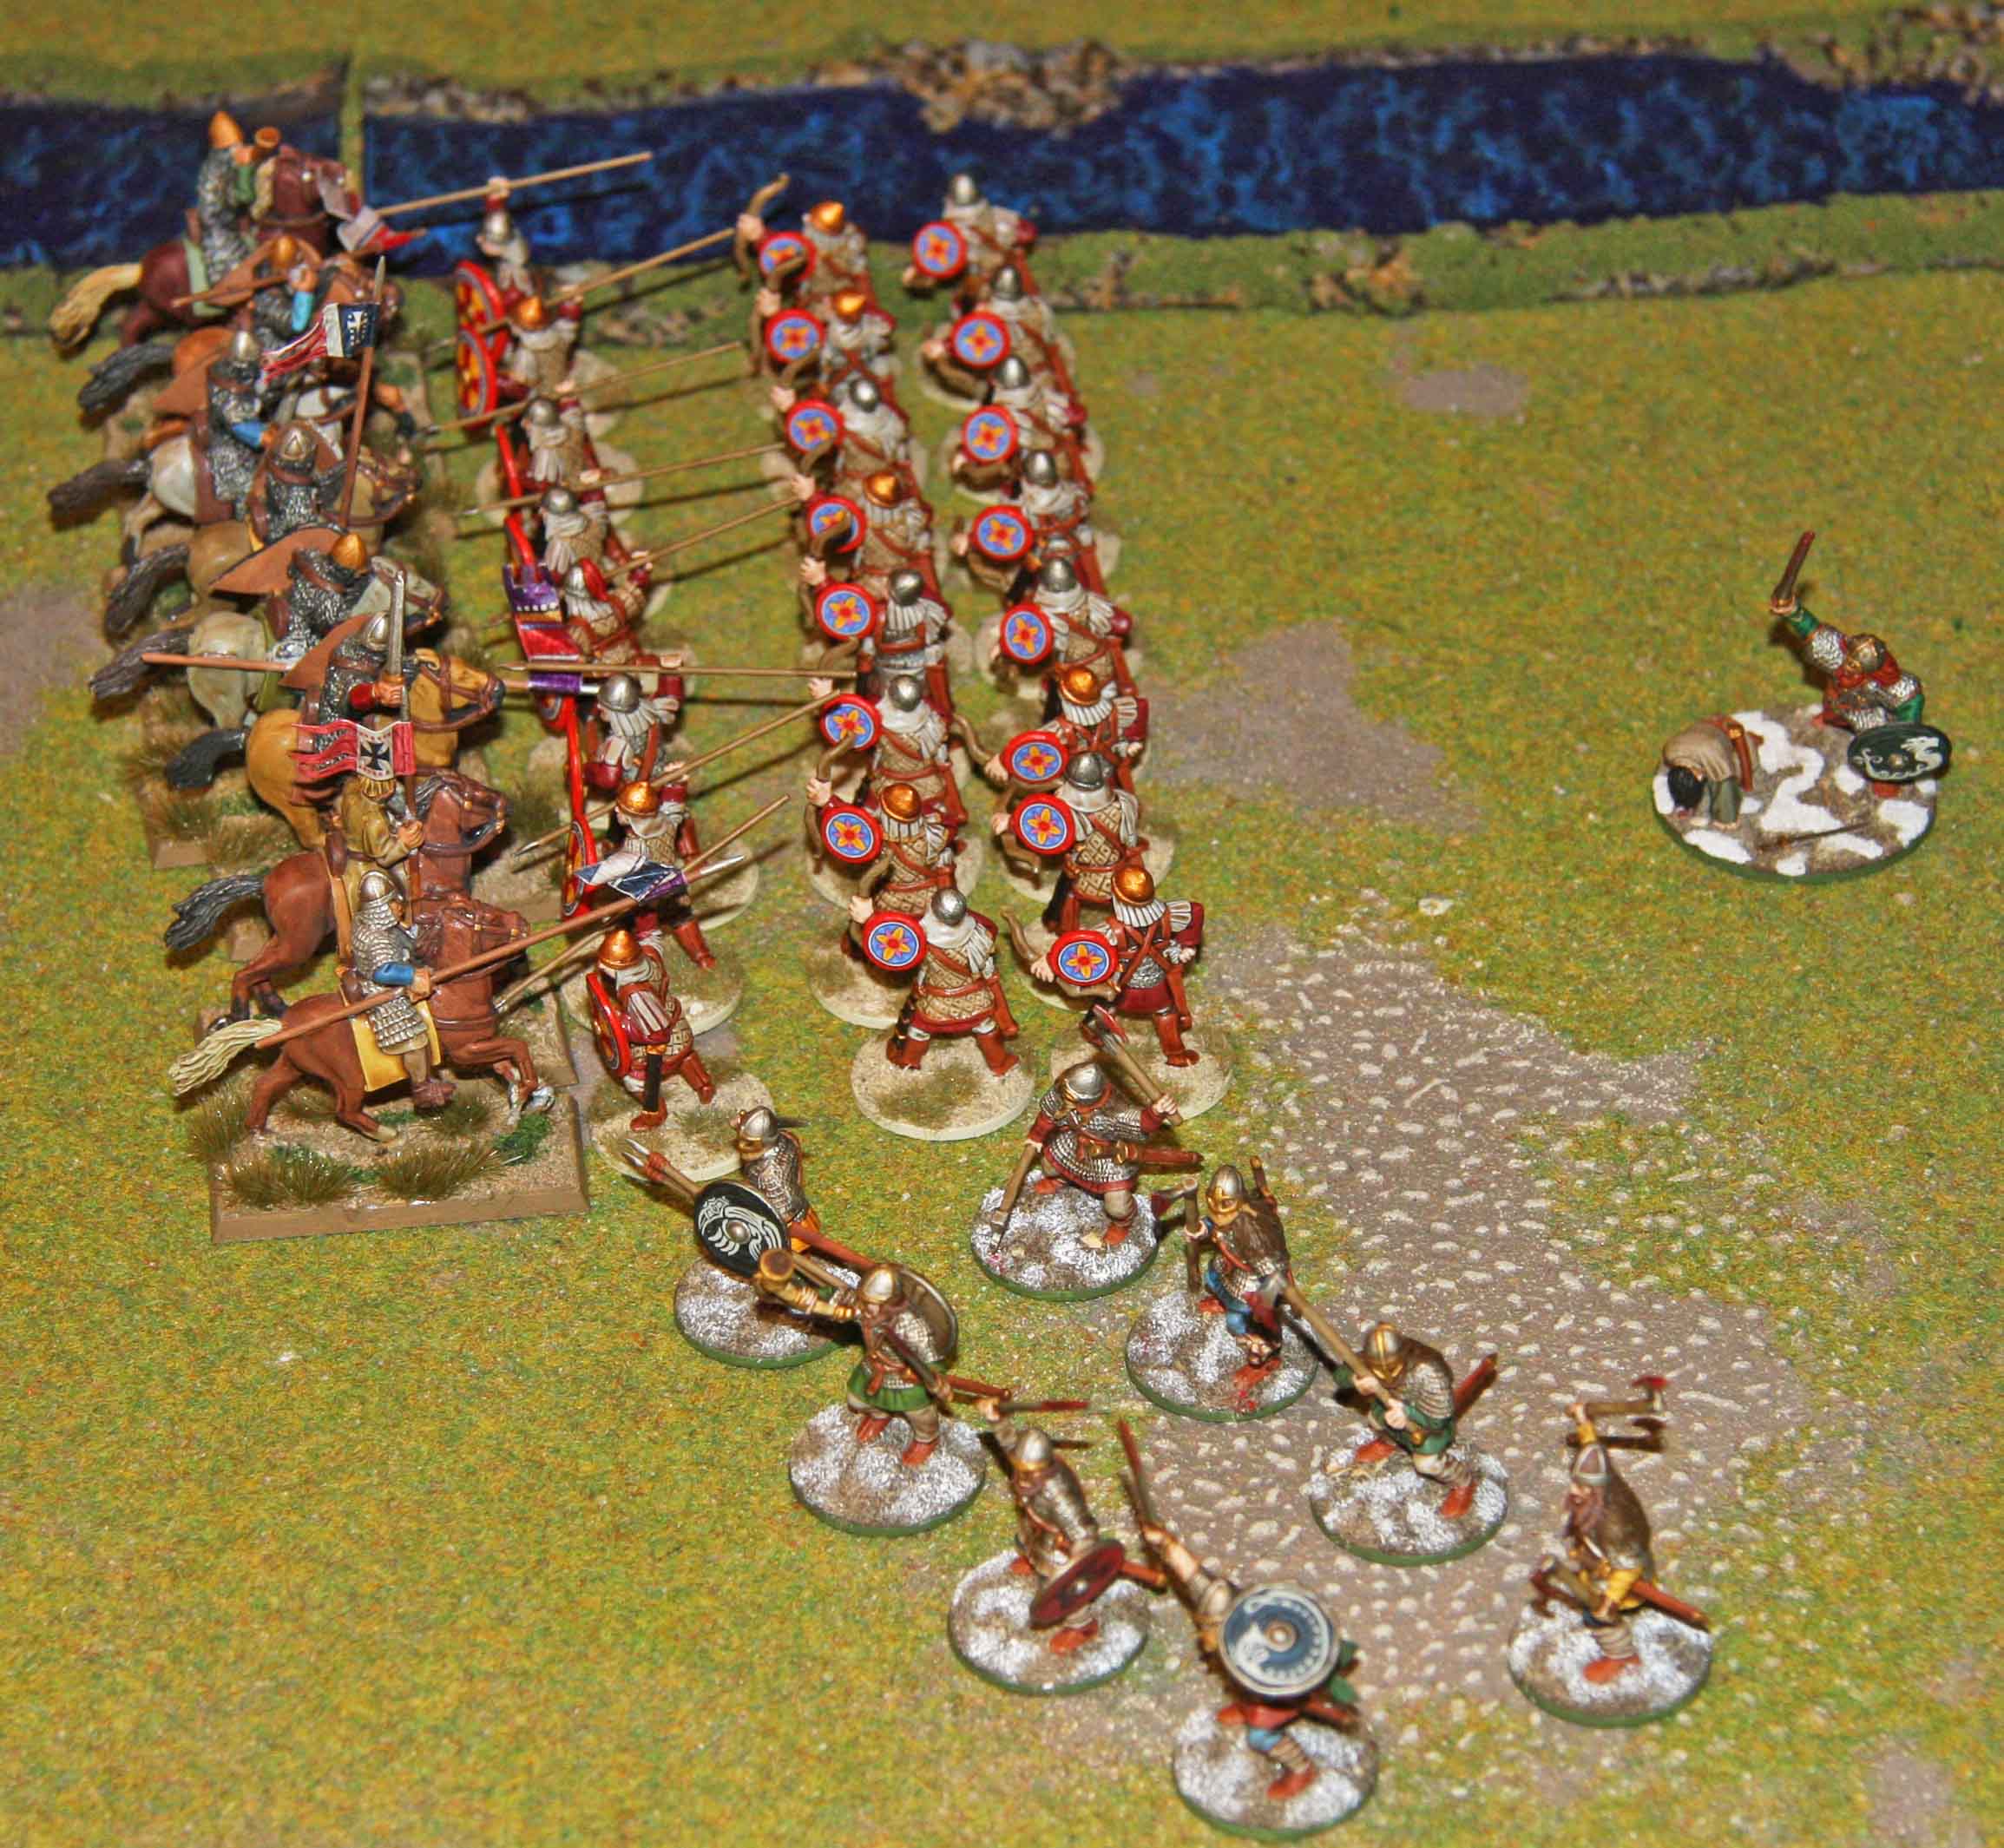
But all that being said… it all started going badly from the start. I lost the initiative roll and before I could do anything, this crossbows shot 6 of my Heathguards out of their saddles. The rest of the game did not go much better. My opponent managed to push his Piety high from the start and this meant he could always draw a lot of extra dice from his combat pool. Combined with a SAGA ability that allowed him to turn his own Fatigue into attack dice, this turned into a meat grinder. Neither of us managed to kill the enemy Warlord so the close combat kills decided the winner. I almost managed to get to a draw none the less, but to be honest… my opponent never even used one of his Heathguard units and the mounted Warriors (they protected his Warlord the whole game), while I had to go on an all out offensive in the end.
So in the end it was quite a clear loss for me. Not a good start to the Grand Melee.

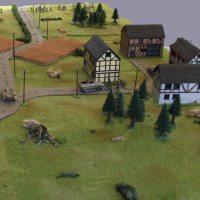
SAGA German Grand Melee 2015
(1st game vs. Milites Christi)
2nd Game (Holy Ground) vs. Milites Christi:
I had learned to hate the Milites Christi in my first game and was quite sad to draw them again for the second game.
So what did my new opponent field this time?
The Warband was led by a normal mounted Warlord and featured 3 units of 4 mounted Heathguards each, 12 Warriors on foot with close combat weapons and 12 warriors on foot with crossbows.
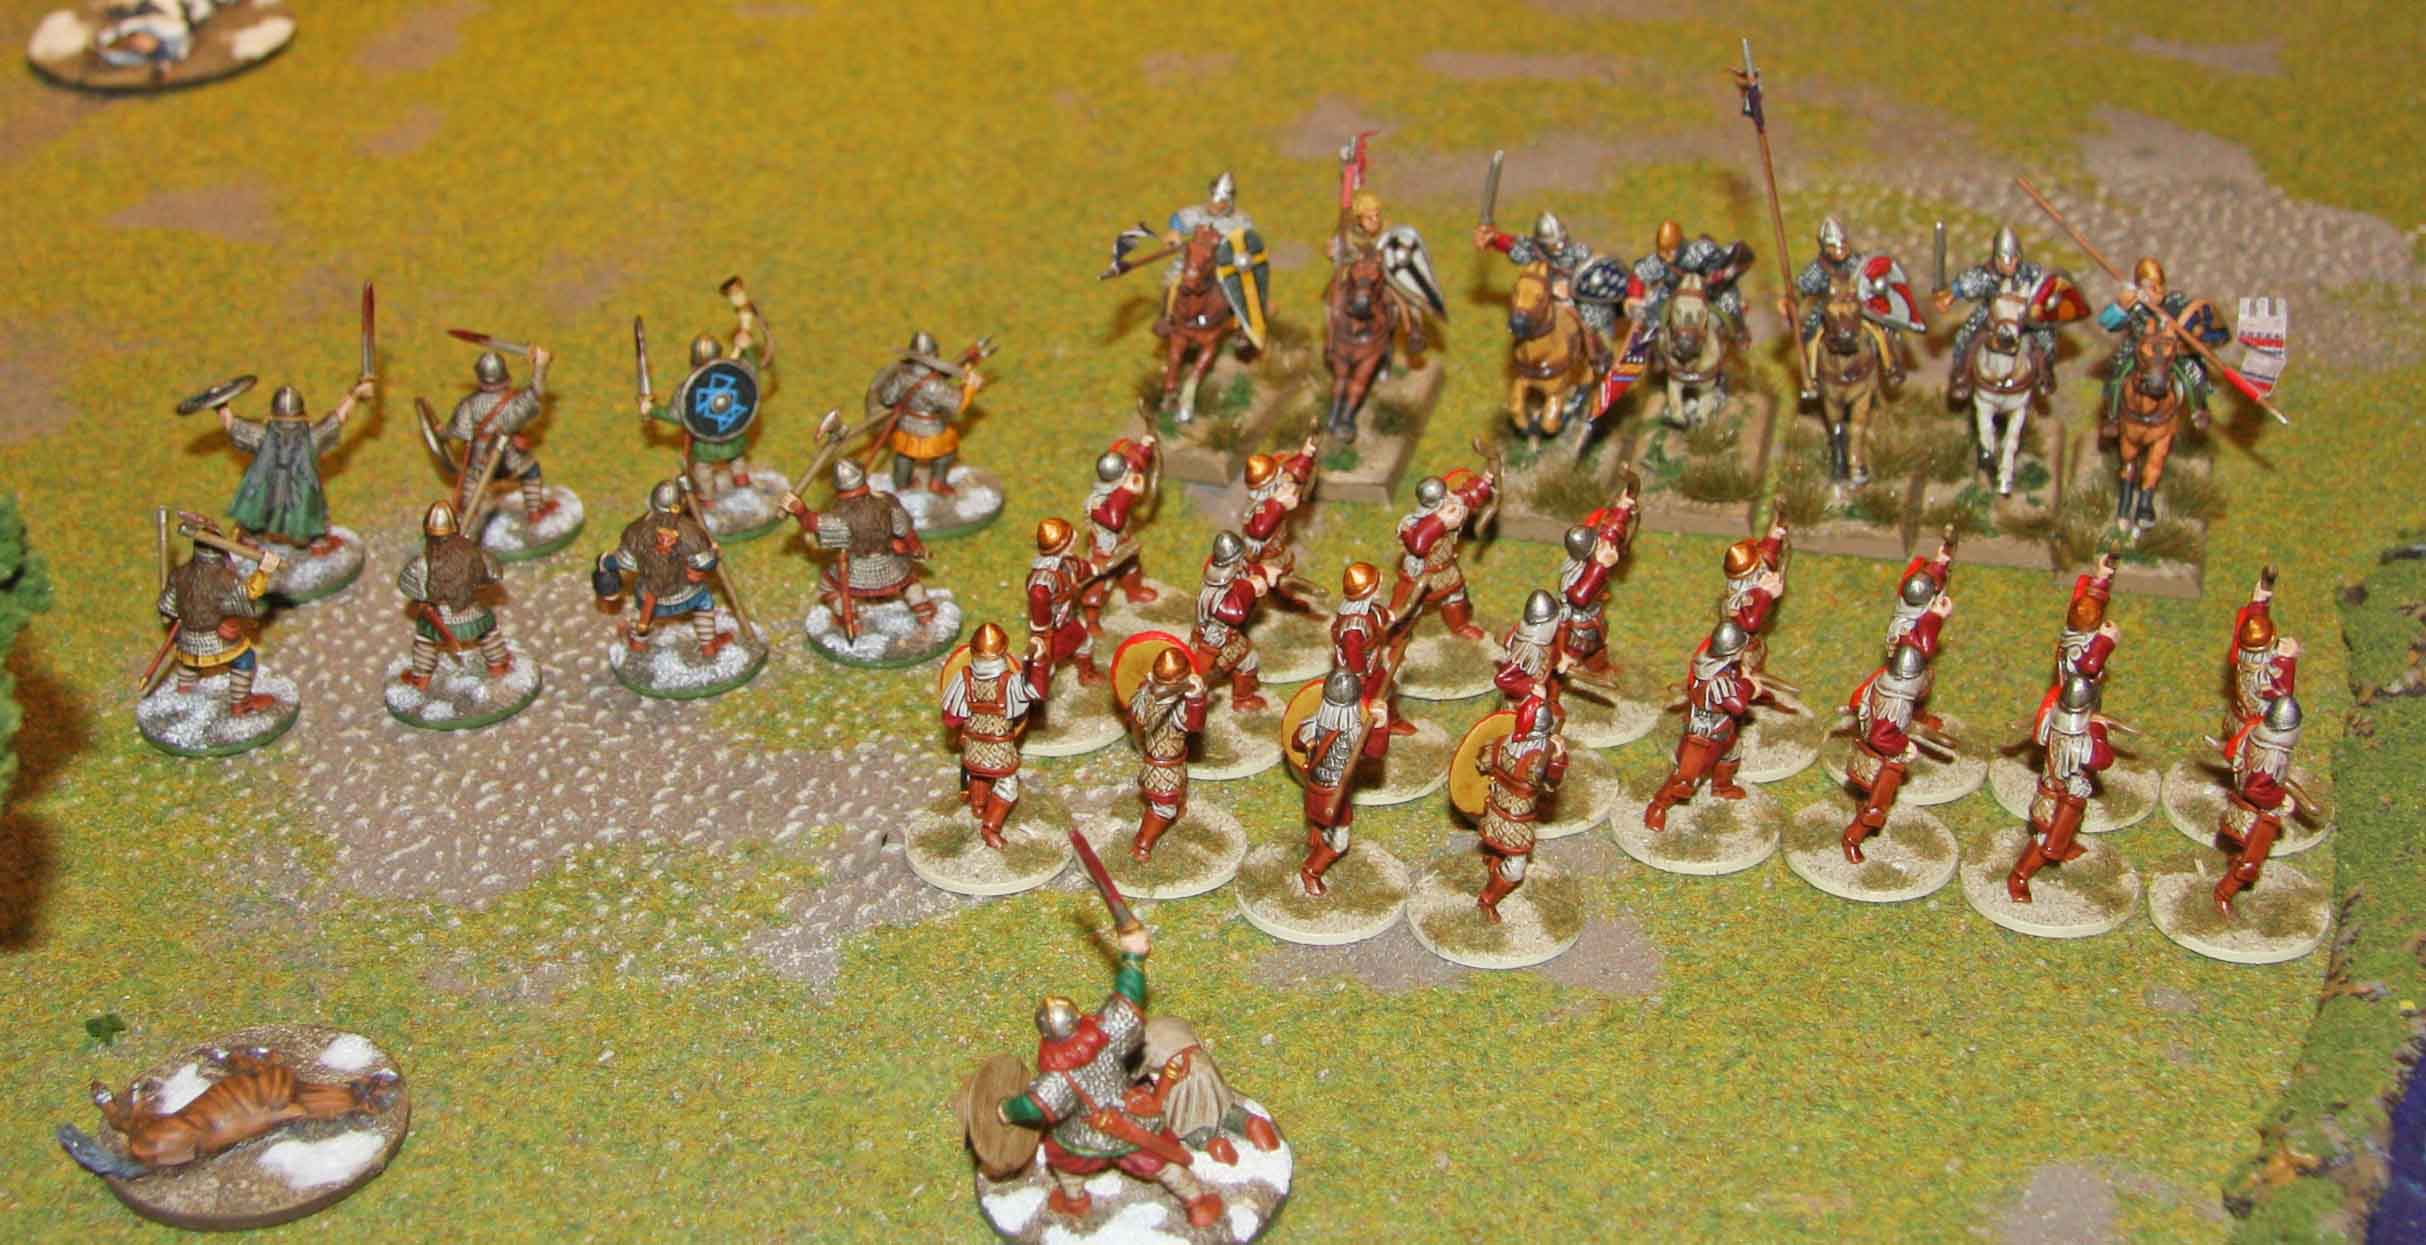
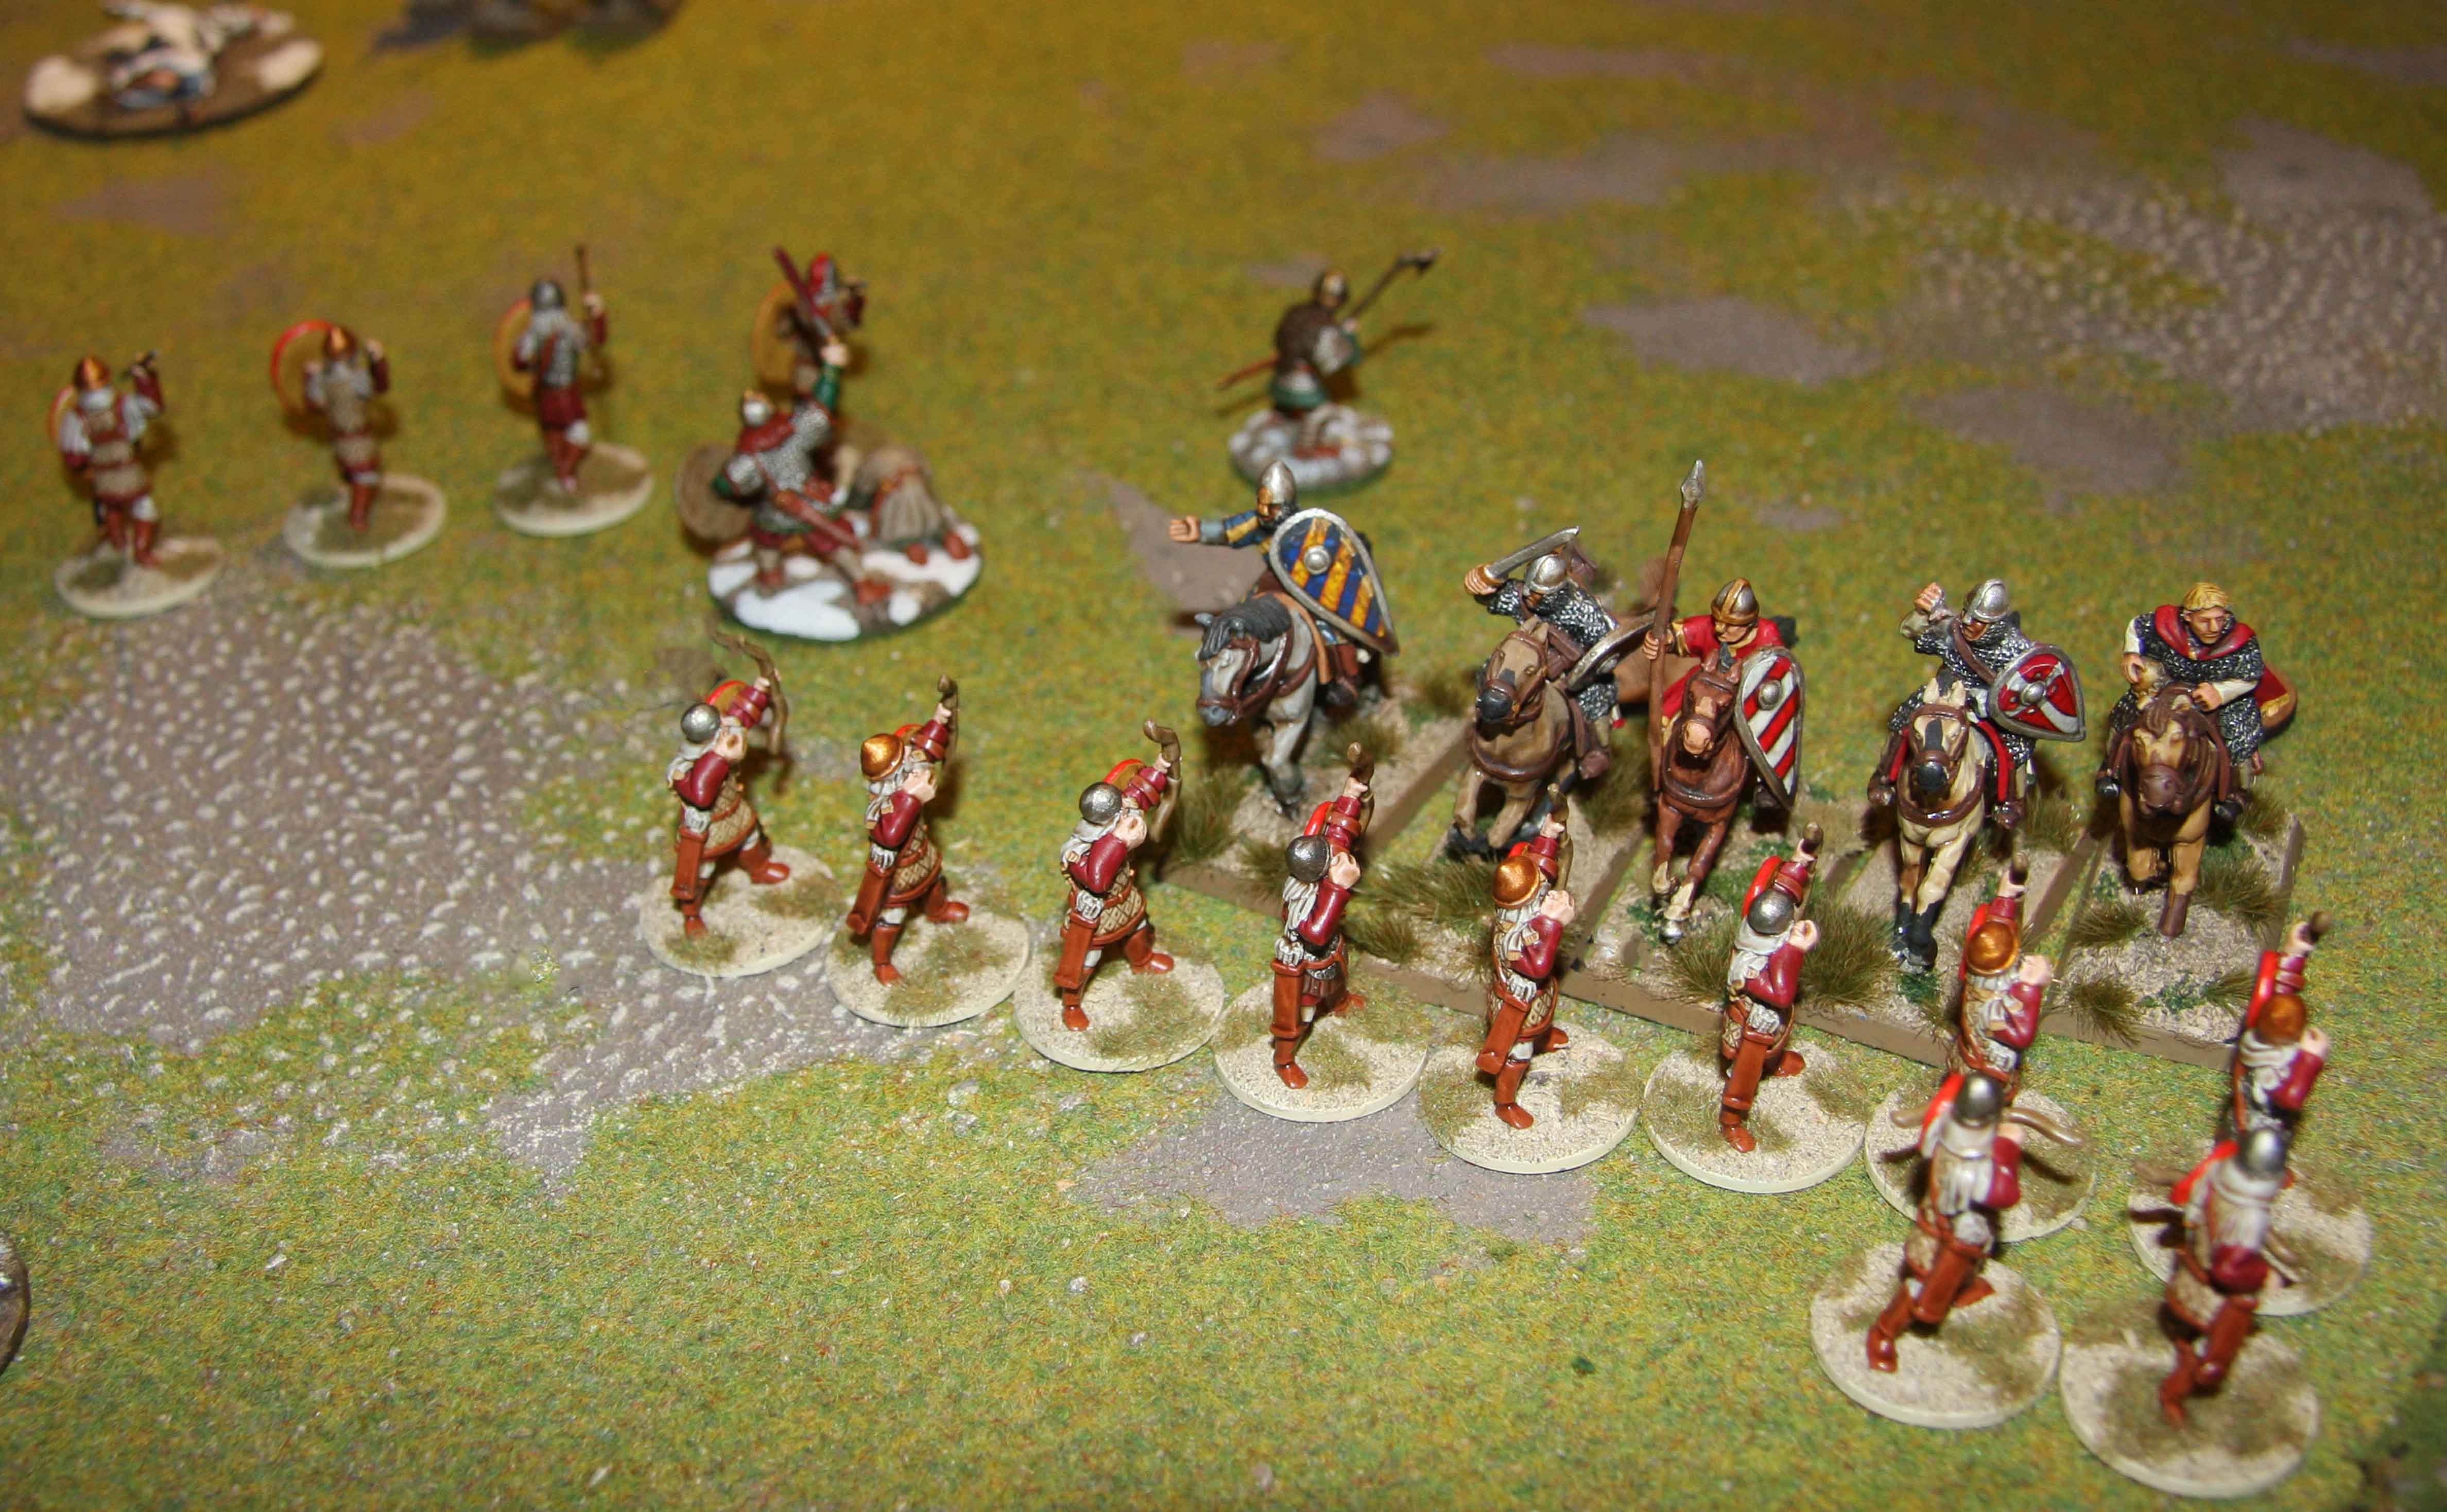
From the very start I had a bad feeling. He deployed all his Warriors infront of one of the target woods and his Warlord and Heathguards spread over the middle and on the other flank. I felt my archers would be useless in the woods so I deployed them in the centre with only my spearmen to oppose the enemy Warriors. My mounted archers were deployed on the right flank and the other Heathguards centre. Since my opponent had the initiative, I had expected him to take the hills fast with his cavalry, where I would have had real problems dislodging them, but this did not happen (for fear of my archers, as he told me later) and he only advanced this crossbows into the woods. My spearmen marched into the same woods and even got into close combat with his crossbows. Now over the next few rounds I rolled exceptionally good on all combat inside the woods and both his Warrior units were unable to dislodge them and were only able to reduce them to 3 men (units of 3 men or less were unable to score victory points for holding an objective) on the 4th round.
On the other flank I had all my cavalry and archers on the two hills by the second round. Now he had real problems dislodging my troops. Even when he won a close combat, I was unable to withdraw due to my troops being deployed in lines behind the other and so he had to withdraw. At the same time I was quick to reduce his Heathguard units to 3 or less men. At the end of the 4th round, only my archer units were large enough to still score victory points, but the same was true for his heavily depleted Warriors. Since I was already about 30 victory points in the lead and he only had a chance to gain a maximum of 5 points a round (and only if he was able to reduce my archers further and I did not kill any more of his Warriors), we called the game off with a decisive victory for me.

SAGA German Grand Melee 2015
(2nd game vs. Milites Christi)
3rd Game (Battle Twilight [10 points for a Victory]) vs. Normans:
[Sorry, I forgot to take a photo of this game!]
For the third game a finally got to play against a Dark Age army… namely the Normans. They were led by a mounted Warlord and consisted of 4 mounted Heathguards, 8 Warriors with Crossbows, 8 Warriors on foot, two units of 8 Warriors on horseback and 12 peasants with bows.
I had deployed my huge block of Warriors right on the border between two table quarters, which meant I could choose which of the two quarters they were supposed to score for. This proved great throughout the game, since they could remain quite stationary, score the victory points where needed most and shoot it out with the enemy archers and crossbows. All in all my opponent and I were on an even footing and for the first 3 rounds we both scored 2 points each (giving each of us 6 points in total). Only then did the scales tip, when I managed to kill his Warlord and reduce his Heathguards below 3 men while my Heathguards managed to stay virtually intact almost for the whole game. So in the end I won with 12 victory points vs. 8.
Something that I need to mention about this game is how much fun it was. As I said before, every opponent I played was great, but I honestly think, I never had so much fun and laughed so much during a game.
So I ended the first day on the 9th place.

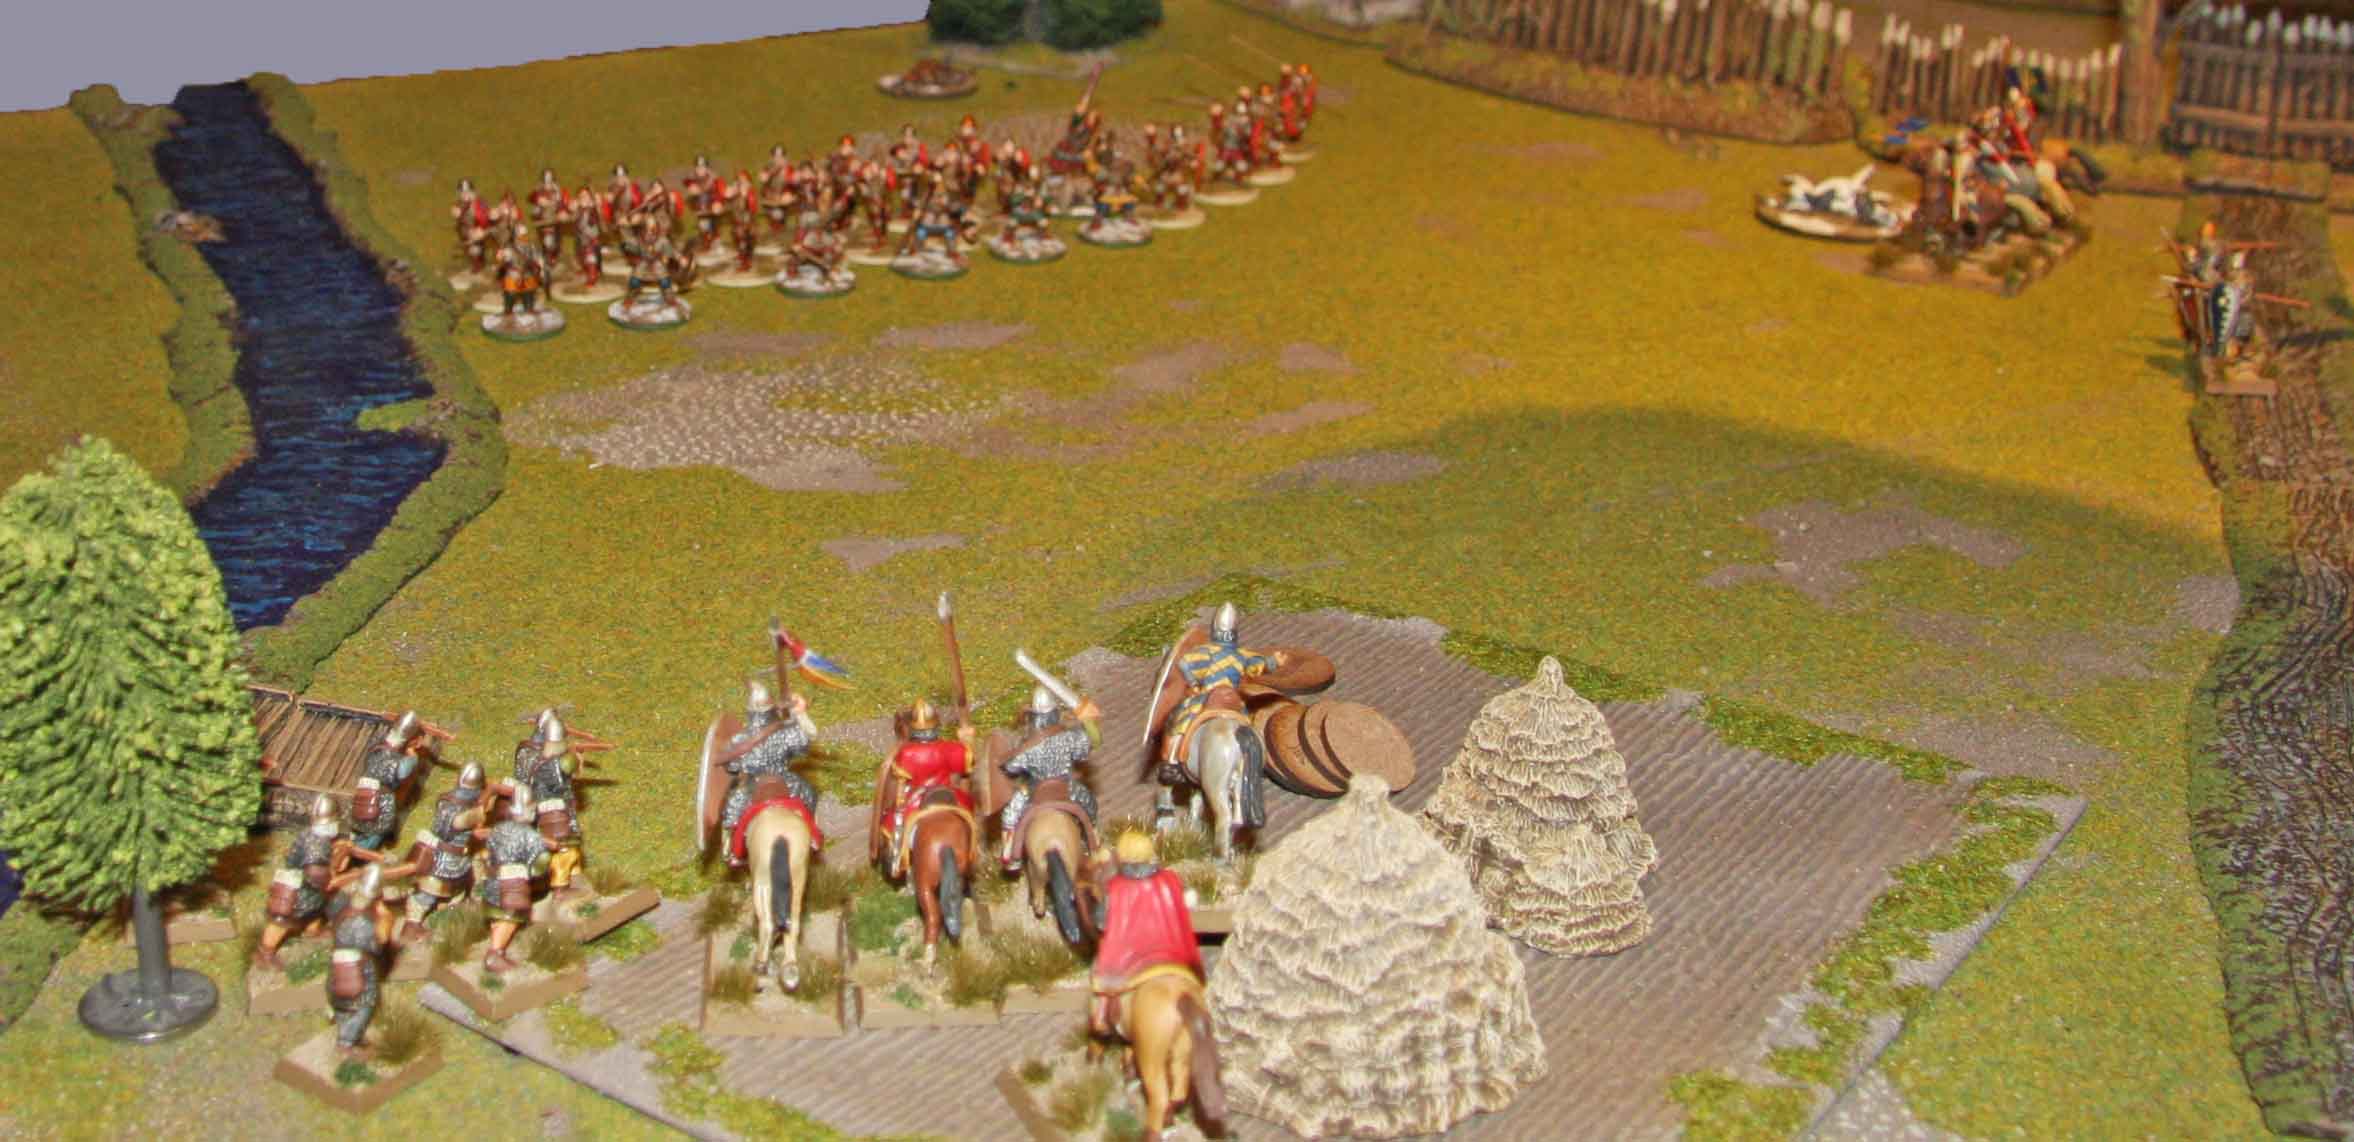
SAGA German Grand Melee 2015*
(Inside the Longhouse)
4th Game (Last Stand) vs. Norse Gail:
The Norse Gail were a bit of a wild card for. I had never played them and from a quick look at their battle board, I had no idea how most of their abilities worked. The Warband consisted of one Warlord with a Dane Axe, 40 Warriors with Dane Axes (which would be spread over 8 units of 5) and 12 Levies with Javelins (which would be spread over 3 units of 4).
In this scenario, we each had to say, how many rounds it would take us to annihilate the enemy. The player who bid lower would be the attacker and would have to annihilate his enemy during that time, while the other was the defender and had to survive. I had a feeling that even with my cavalry I would not be able to evade so many troops forever, so I did not want my opponent to be the attacker with a high turn count. At the same time I felt that if I really pushed hard, I should be able to kill all his troops in 7 rounds. Especially since he would also lose the game, if his force no longer created SAGA dice, so I could ignore his Levies. So my bid was 7 rounds, his was 8 and I ended being the attacker. And it proofed a hard nut to crack. About half his Warriors deployed within the woods where I would have a hard time dislodging them with my cavalry or archers. And I had to find out, that his battle board could actually deny me entering combat with his troops. Things were only made worse by the fact, that my opponent would always put as many dice on the defense as possible and that he would not use my fatigue to boost his stats or lower mine, but rather let them accumulate to get my troops exhausted.
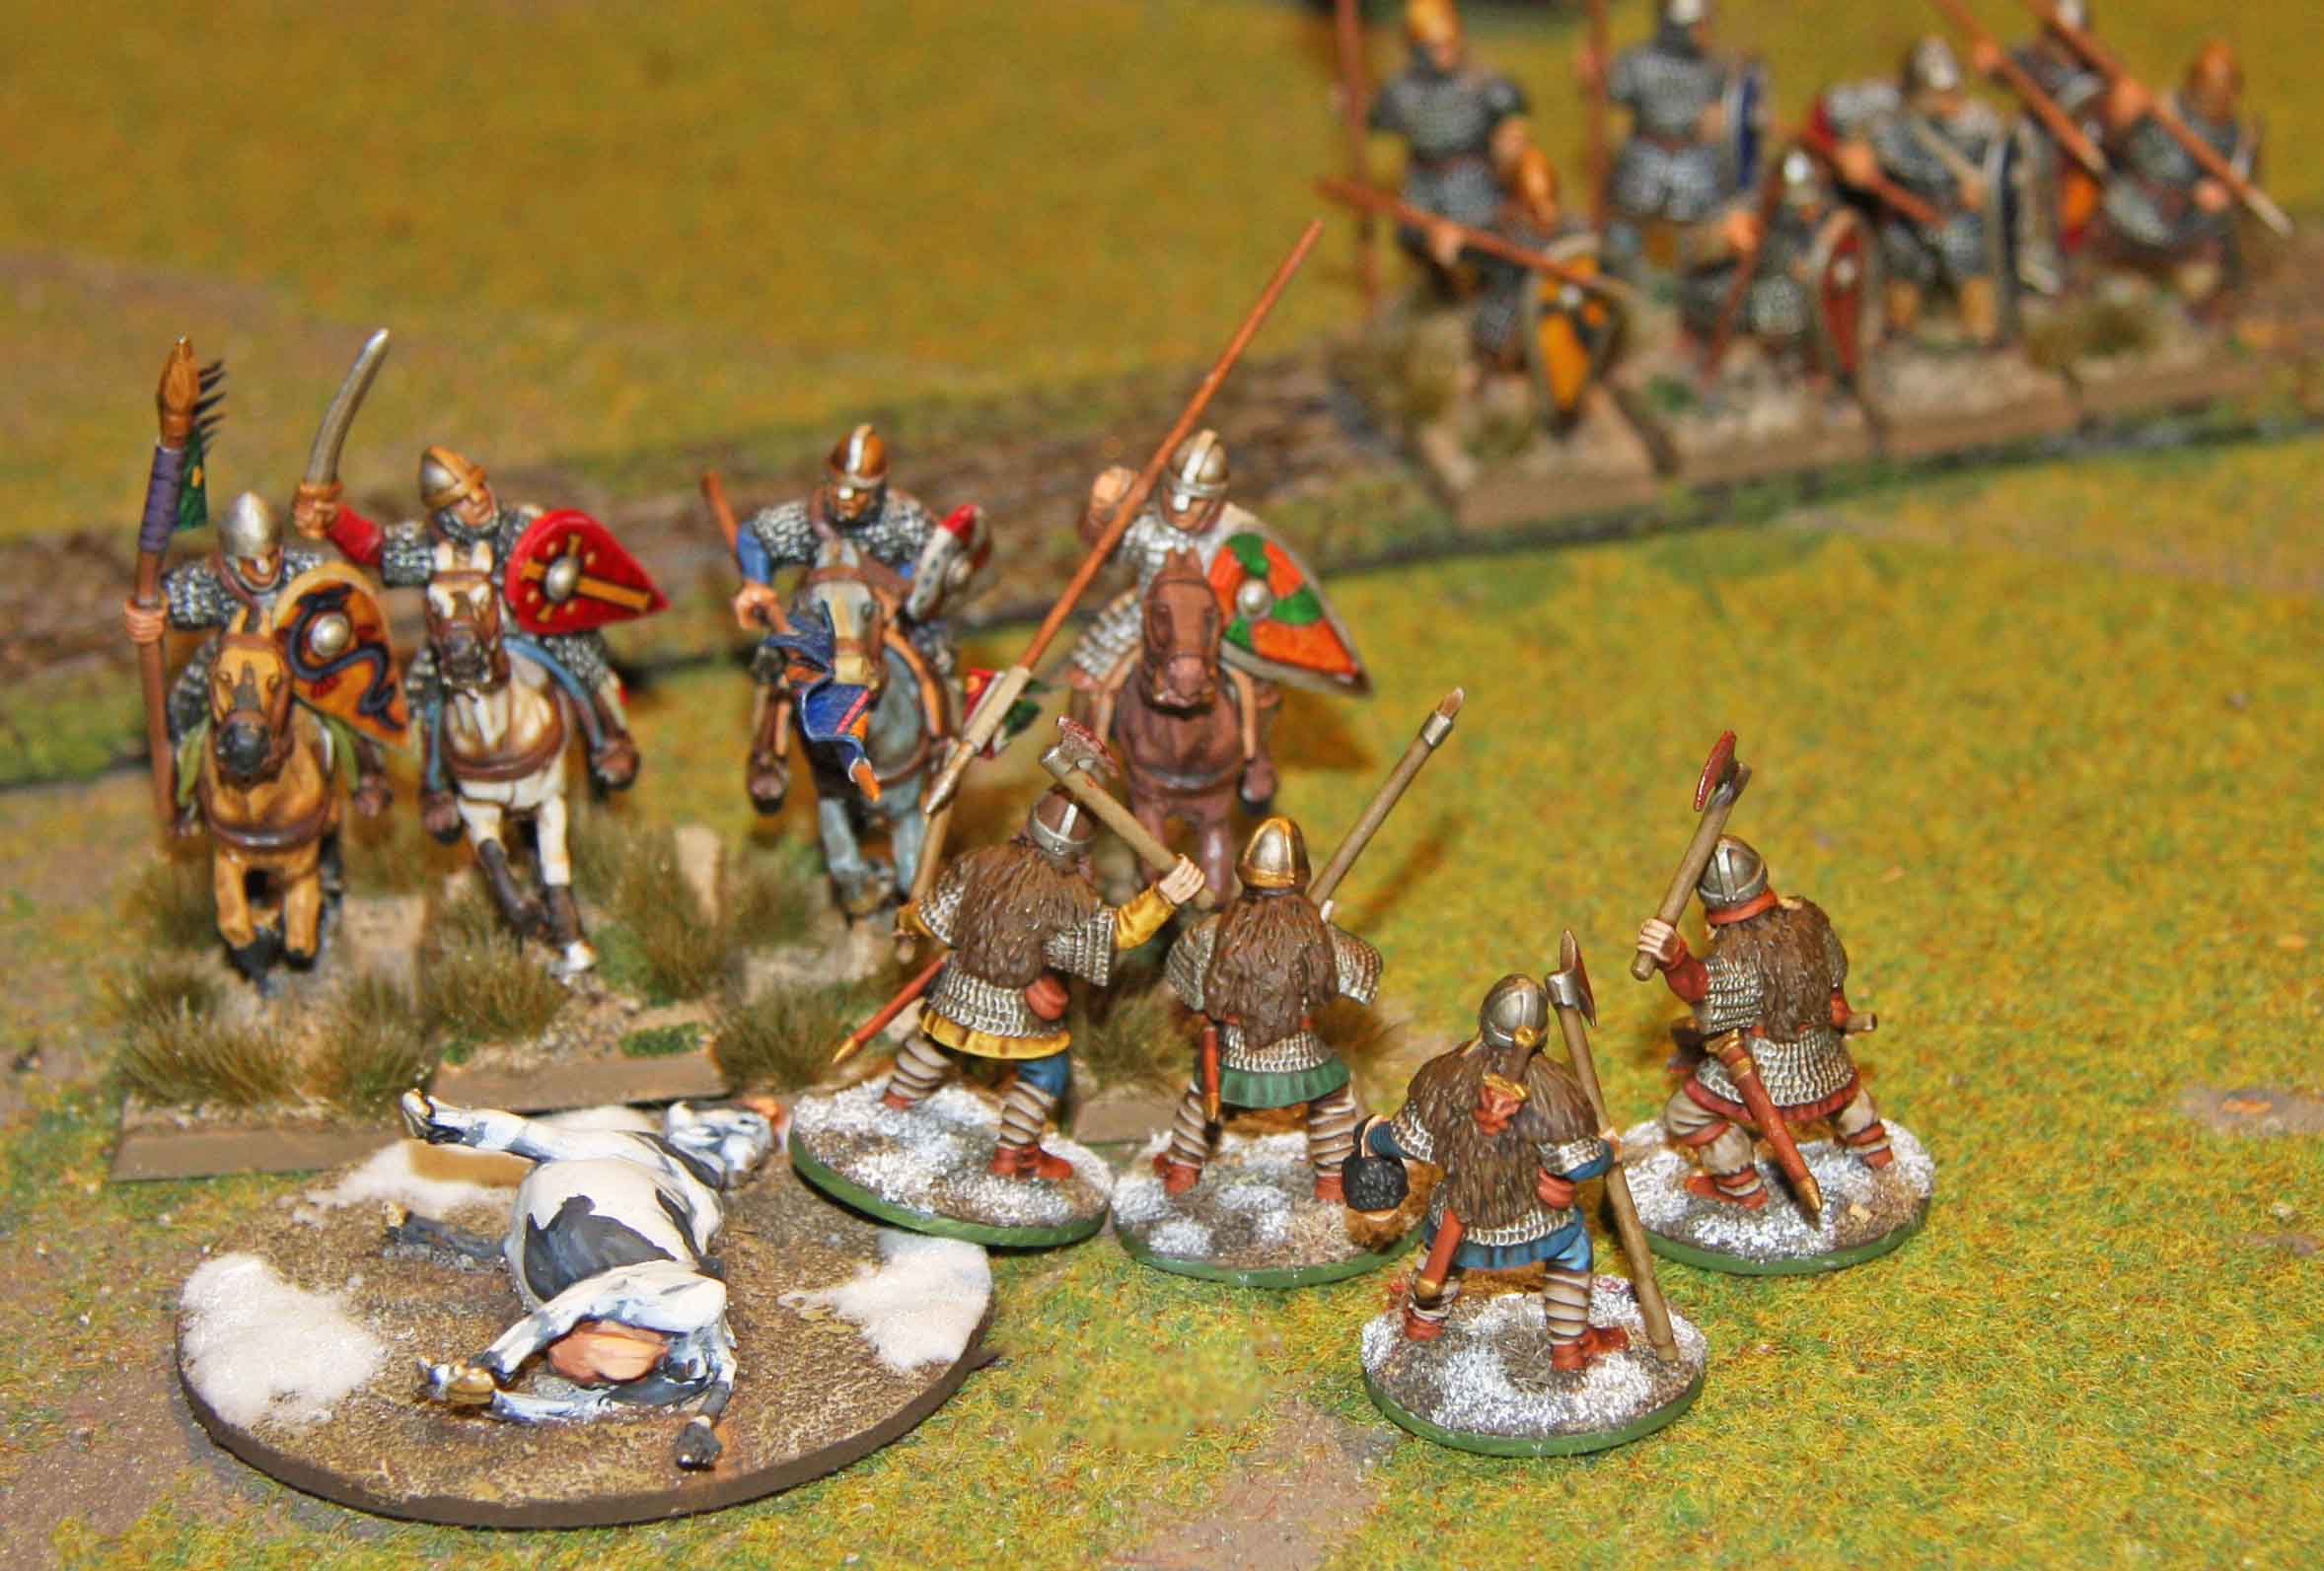
My first solution was to try to kill the Warlord as fast as possible and take out those Warriors in the open to reduce his SAGA dice, thereby denying him the better abilities on his board. This was easier said than done, since three of his units were reduced to 1 man by the end of the 3rd or 4th turn, but that one man always proofed hard to kill. In the end it was all or nothing, with the Heathguard archers attacking in close combat, my cavalry continuously charging into the woods and the Warlord attacking on his own. In the end it was a very tight race, with my mounted archers killing the last enemy Warrior on the penultimate activation of the 7th round, nailing me the victory. Not that I would have had another chance… by this time all my mounted units (including the Warlord) were inside the woods and had 4-5 Fatigue counters, the Warriors were exhausted, too and my archers close to exhaustion. If I ever played one intense game, this was! And if there ever was a battle worth a song in my Warlords Saga, this was it.

SAGA German Grand Melee 2015
(final positions vs. Norse Gael)
[This is a shot taken after the game,
so the Fatigue counters have already been removed from some of the units]
5th Game (God will recognise his) vs. Irish:
[Sorry, I for got to take a photo of this game!]
For this last game, I faced one of the organisers, who stood in with his Irish since there was an odd number of players. That being said… the stand in player already had quite a track record with three wins and one loss and he did not give me an easy game either. Which was great, since nothing is worse than a victory one did not earn!
The Warband consisted of a Warlord on foot, two heroes on foot, 6 Heathguards on foot, two 12 men units of Warriors and 8 Warhounds.
The battle went in a real see-saw fashion with most the of fighting going on in the centre. Units that were to return using the “Endless Warbands” rule would quickly reenter the fight from the flanks and always make their impact felt. The one thing that was a bit sad was the dice rolling. For the first two rounds we would alternate at rolling bad on the attack and good on the safe in one combat and bad on the attack and good on the safe in the next. From the third round on, this started to change, with my dice failing me completely. 😦
In the end we were half a kill point apart, which meant a draw.
The result
So in the end, I won 3 victories (one of them decisive), had one draw and lost one game. This gave me a shared 5th place out of a field of 27 players.
And I have to say, I was really happy with this. As I said before, I felt the Byzantines were not my first choice for this tournament, but the only mounted one I had painted. And the use of the SAGA abilities vindicated that. While I used the Massed Archery ability quite often, there were few situations where the others were of use. I used Kontos three or four times, but otherwise it was Support Archers (2x) and Strategikon (1x) and Withdrawal (1x) during the whole tournament. So not much mileage was gained from the battle board.
Another factor was that I had only played two games of SAGa in 2 ½ years (and both over the last month) and did not know the rules changes from the Errata / FAQ. Combined with the fact that out of all the Warbands I faced I had only ever played Normans it felt like an uphill struggle virtually all the time. So again, I was more than happy with the result!!!

SAGA German Grand Melee 2015 (group shot of the players)*
[yours truly 5th from right, with the mandatory facial hair and virtually bald head 🙂 ]
Final impressions
First of all, I cannot mention often enough, what a great event this has been and I am really looking forward to the next installment, hopefully at the same great location!
The only drawback was the poor lighting in the longhouse, but the organizers have promised that this will be improved the next time. What really amazed me, was how much such an event makes you want to get new armies done. I already have Normans and Anglo Saxons lying around at home (actually I have had them for over two years) and now the time has come to slap some paint on them. But I also fell in love with most of the other armies I played against. So I definitely want a Milites Christi and an Irish Warband now. 😉
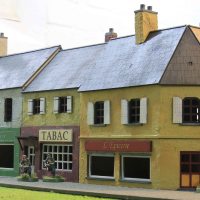
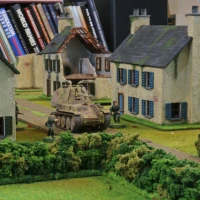
Anyway, I am going to leave you with some photos of the other armies in the tournament (at least those photos the came out OK in the light without a trip-pod) and some impressions from the open air museum park.

SAGA German Grand Melee 2015 (Viking Warband)

SAGA German Grand Melee 2015 (Viking Warband)

SAGA German Grand Melee 2015 (Norman Warband)

SAGA German Grand Melee 2015 (Jomsviking Warband)

SAGA German Grand Melee 2015
(Impressions from the park / Saxon Longhouse)

SAGA German Grand Melee 2015
(Impressions from the park)
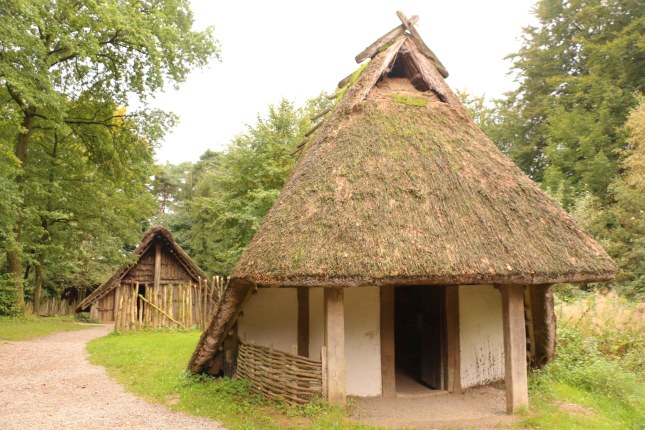
SAGA German Grand Melee 2015
(Impressions from the park)

SAGA German Grand Melee 2015
(Impressions from the park)