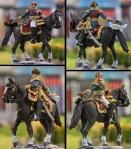
Now that the main characters for the base are done, it is time to set our sights on the base itself. According to the R2E rules I have a maximum base size of 10cm square (or round) for an army commander. Now I do not only want the minis on the base, but also a little special terrain, so it was important to do a little test run. Here is the base with the minis arranged on it:

As you can see I marked their positions with a pencil and also sketched some other terrain features. The white blocky thing in the front is a Hirst Arts block with a field stone arch. As you might be able to see from my notes, the base is also to feature a pond, small dam, creek and a road. The field stone arch will depict part of a small sewer under the road. Once the minis were removed I sketched the rest of the features onto the base.

To look good the base needs three levels. The highest featuring the ground the minis are on, one slightly lower of the pond and ditch and the lowest for the creek. Now the difference between the medium and lowest level needs to be bigger to give the water gushing of the dam a nice look. For this I use thin isolation foam usually use to sound proof laminate flooring. I used four layers of it and cut it into the shape of the base. For this I sandwiched them between two bases, fixed them and cut along the edges.


Afterwards the markings I had made on the base at the beginning were transferred to the foam and the respective layers cut away. Especially along the creek this was a bit uneven, but it did not matter since this would be landscaped later on anyway. Now the layers were glued together and glued to a base (a new one, since I still wanted the one with my “notes”, in case I needed it later).

I now painted the edge of the foam where the dam and the arch would be black. These spaces would be hard to reach with a brush once they had been glued into place. Since the foam is a bright green, it would have looked ugly if it shone through, so better now then later. I cut of the edge of the arch (since it runs diagonally to the edge of the base) and sanded it down. I also added another block to the top of it and this was cut and sanded as well. Another block from the mould for damaged walls to give it an uneven look would complete the stone work.
The dam was build using a coffee stirrer and matchstick cut to size. All of this was now glued in place.
At this point I got a sinking feeling that the base would be too soft. This insulation board is somewhat flexible with a very smooth surface. And I was afraid, that the minis would provide too much of a handle and break off during gameplay if mounted directly to the foam. So I cut some thick card to match the terrain and glued in on top the base, to create a sandwich and a stable ground for the minis. I filled the larger gash in the bank with plaster and covered the banks and ditch with wood filler for the final landscaping. Why wood filler? If you mix it with a little water you get a very fine grain structure, that can be painted over to depict soil. Since I want to build the water using modelling water I did not want any sand being poured onto the base after I did this, to make sure there would be no scratches. So I went for a material that would look the deal, but could be applied with a spatula.
I also painted the edges of the base over with white glue to hide a pores in the foam and mask the layers somewhat once the edge of the base is painted.

Up next came the first steps of painting. The “water” inside the pond and creek were painted in two shades of dark brown and washed with green to give a muddy look. The stones in three shades of grey and stippled with moss green to depict moss growing in the recesses between the stones. The dam was painted in faded browns and some dark greens (to depict algae growing on it of hanging down between the boards). Then I glued some fishing line from the top of the dam to the creek. This will later be covered with a water paste to depict the water gushing over the dam.
Last the banks of the creek were painted as well.


Now the edges of the base were painted olive-green to match the rest of my basing (although I am contemplating painting the upper parts brown since it is looking strange right now). The minis were glued to the base as well. Now I always knew that there would most likely be some space for other minis left on the base and this was the time check it out. On top of the road there was indeed some space. Either for a rider or two to three dismounted minis. I chose the latter. Why?
Now a diorama (and command bases are more like a diorama than anything else) always looks best, if it is not too geometric. This is called visual weight. Some spots should draw the eye more than others without any looking bare. And it is best if not everything is orientated along an edge. For this reason the roads runs diagonally over the base and not parallel to an edge and the minis are looking towards a spot off centre. To achieve the weight, all the riders are on one side of the base, with the lesser characters (the ADC and Mameluke Ali) compressed into a corner, while the main characters (Bonaparte and Soult) have more space. The dam and arch draw the eye, but their lower lever keeps the focus on the mounted characters. Now adding another mounted mini would have shifted the looks towards that side of the base and would have given more visual weight to the ADC and Ali. Two foot minis, with plainer uniforms look “lighter” on the other hand and do not draw as much attention. Also their lower hight creates a spiral on the base, going from the important characters, to the lesser ones, to the foot minis and down to the terrain on the lower level. I also picked only two minis since it looked too “heavy” when I put a third in the group.
I picked another Maréchal / General and a Carabinier officer from Perry Miniatures for this and these shall be painted now.

After the glue had dried, I filled the space between the integral bases of the minis and down the road with more filler, leaving the spot where the minis on foot will be bare. I also applied the water paste to the fishing line yesterday and poured some water into the pond and creek. I took no photos of that yet, since I did not want to move the base before the water had settled, so you will see those in the next installment. I do not know, when that will be though. I will be away till early September and I am not sure yet, if I will get any work done until I leave. So keep your eyes peeled!


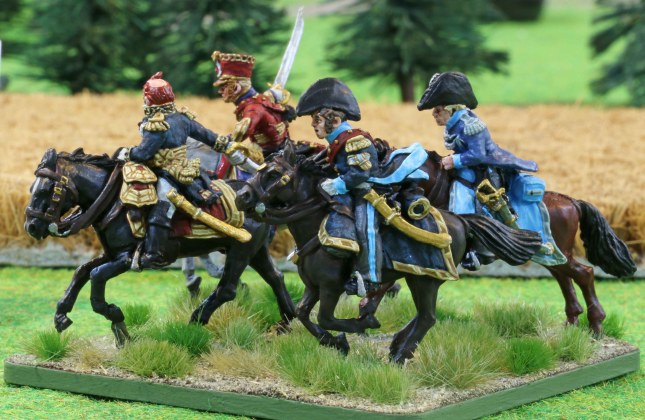

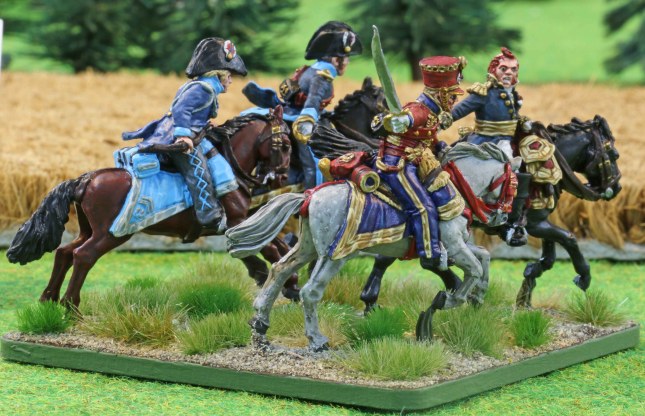


 Valleyboys´ “Under Fire”
 My “The Onion”
 Von Blucher’s “PRUSSIAN & FRENCH COMMANDS FOR 1806″ (Combined entry)
 My “Uxbridge”


