")
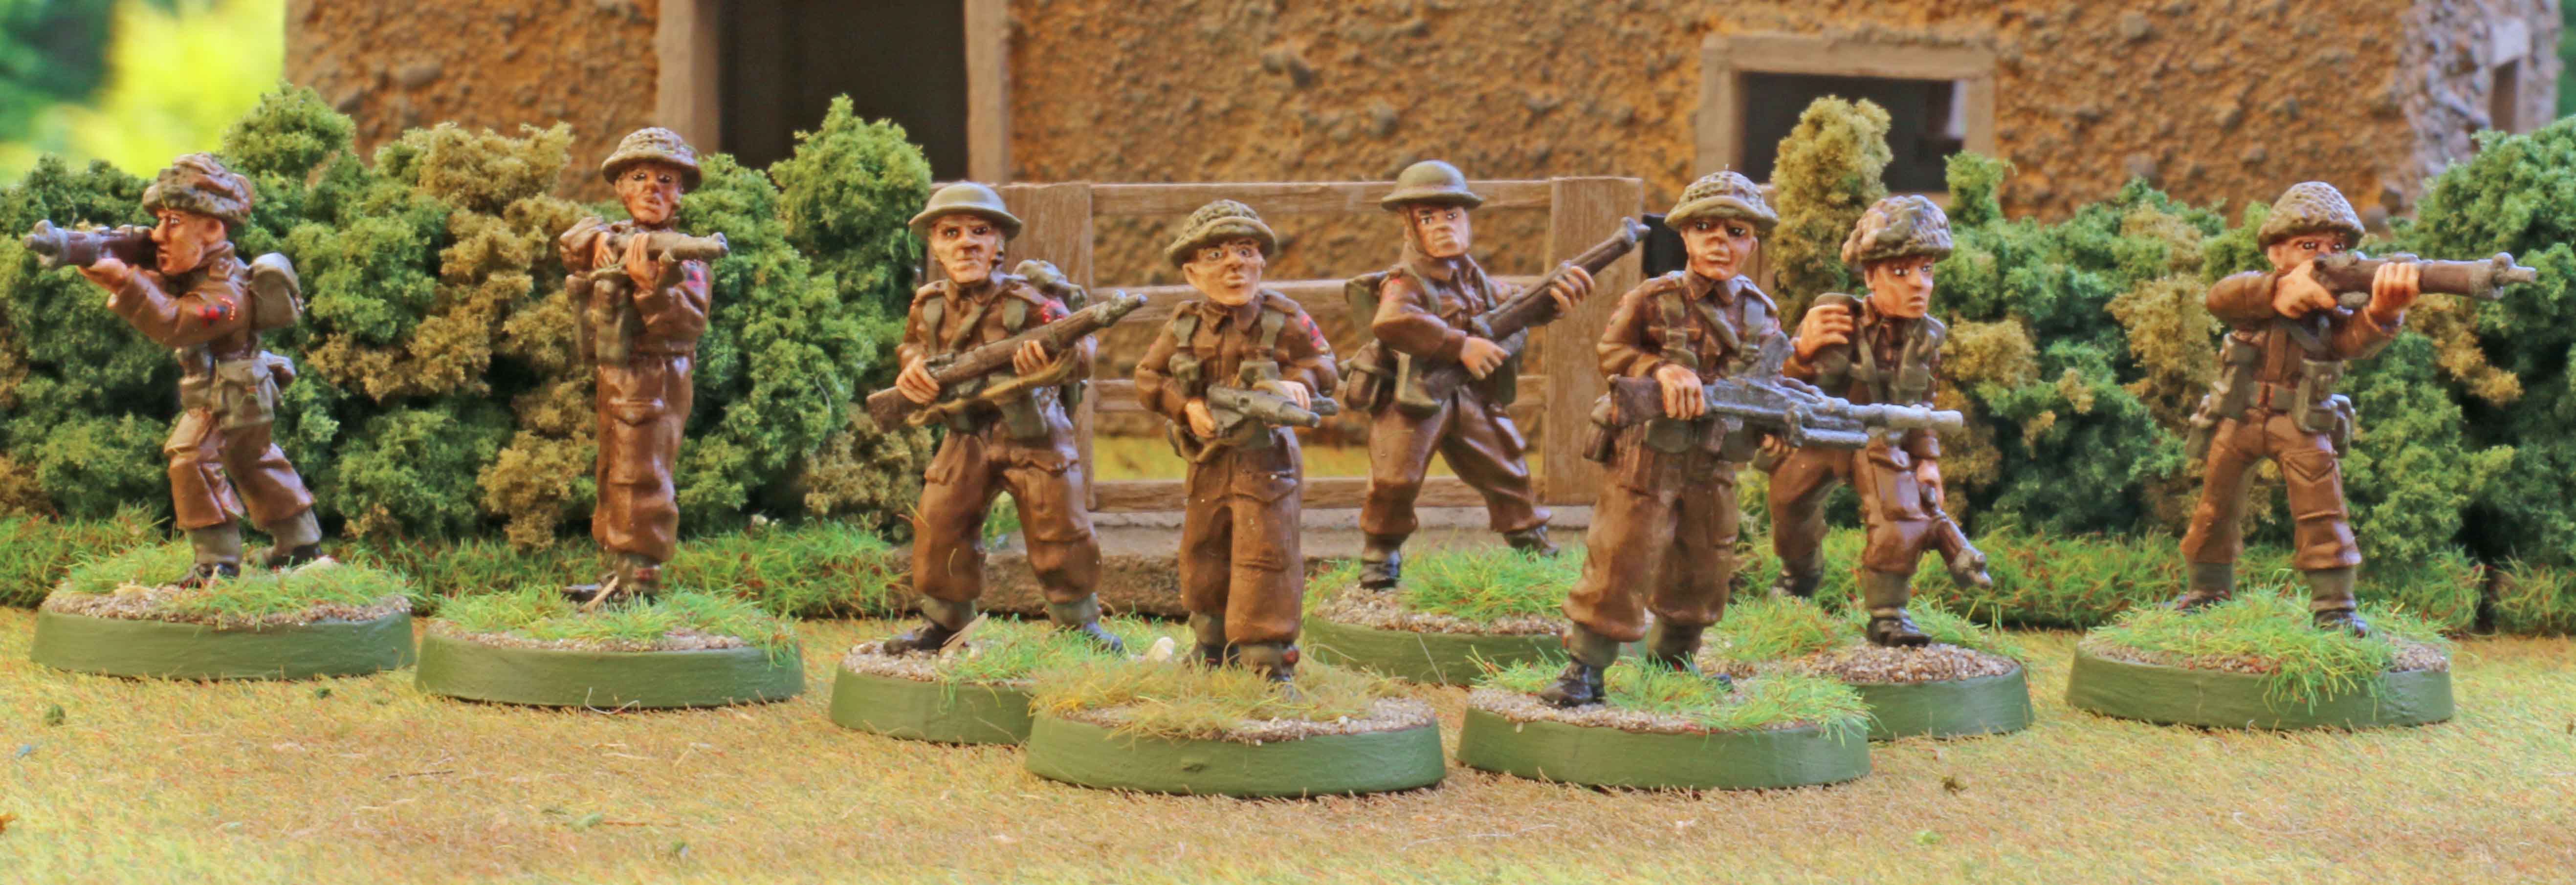
Friday I finally wanted to give my newly painted British an outing, so Julian, Martin, his son Max and I met for a game of Battlegroup: Fall of the Reich.
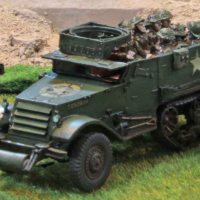
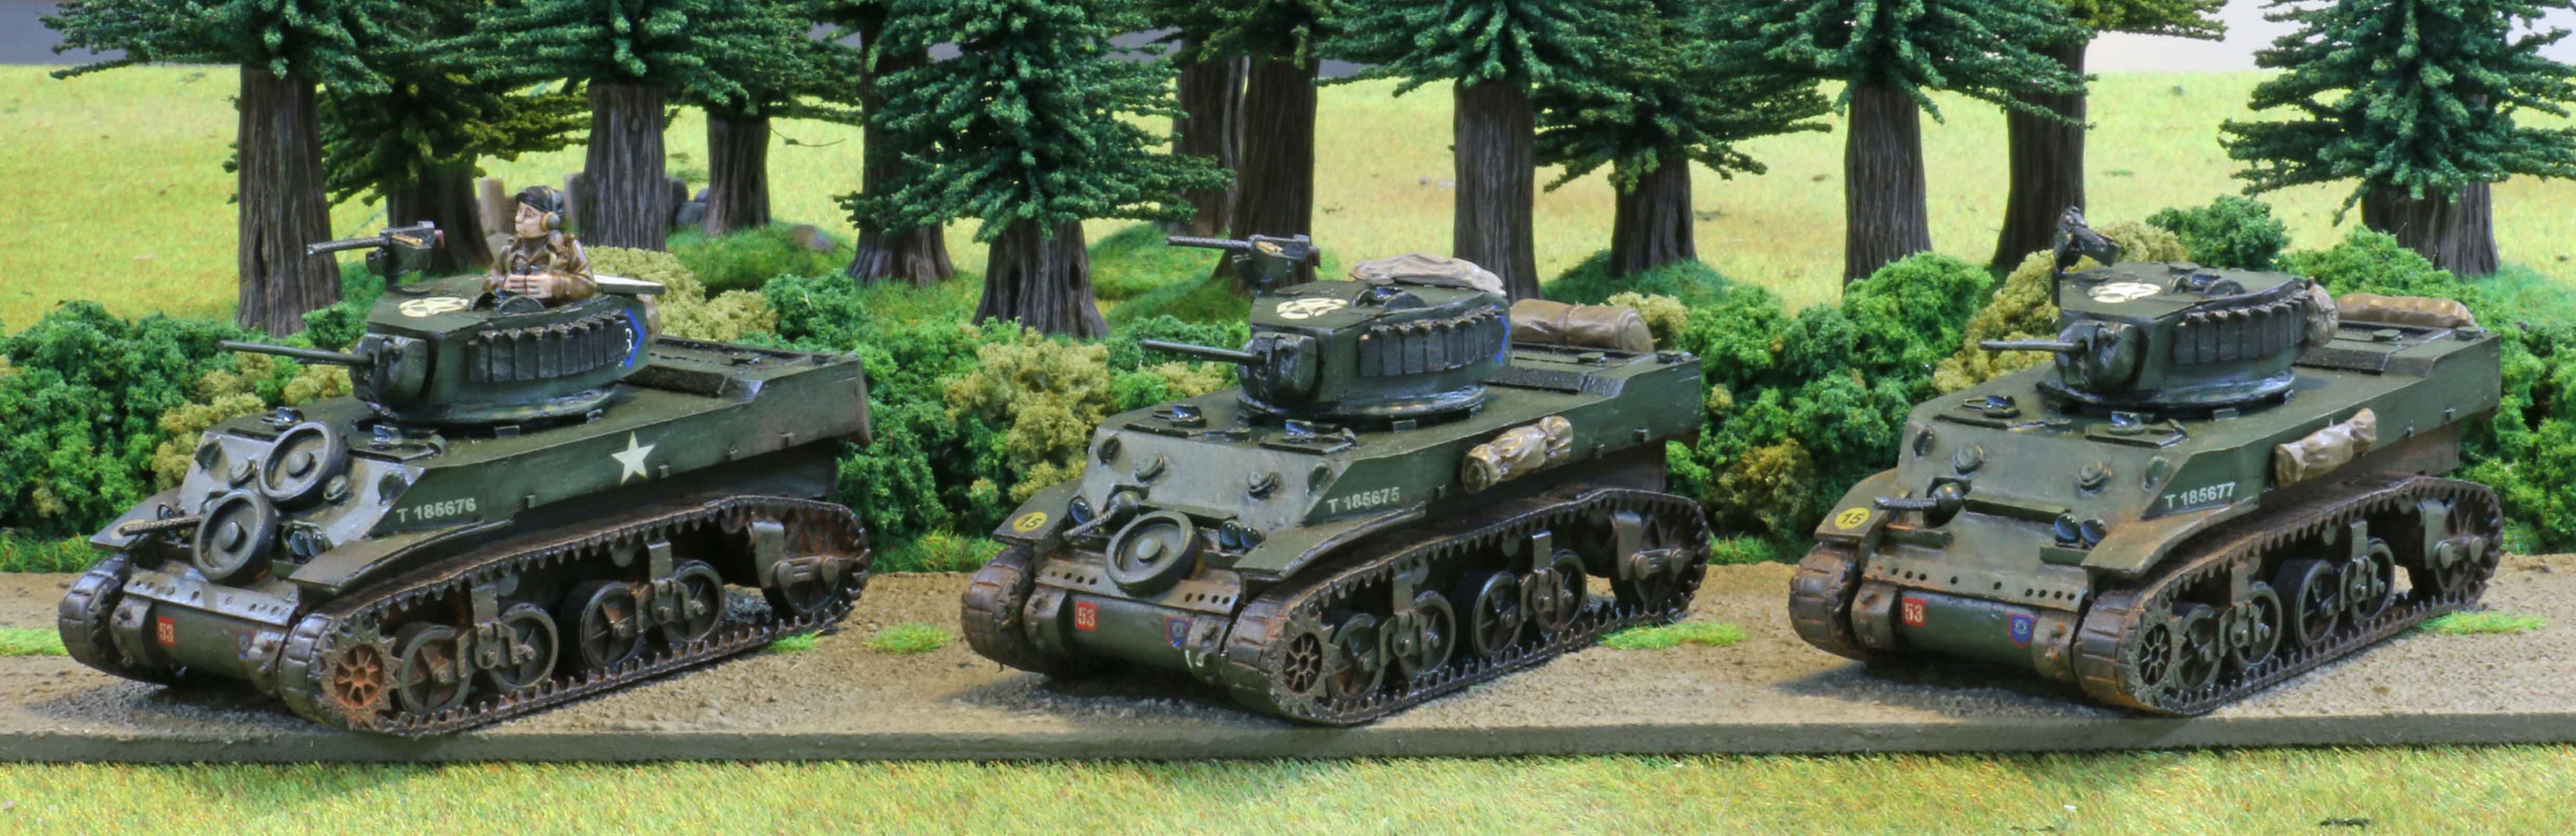
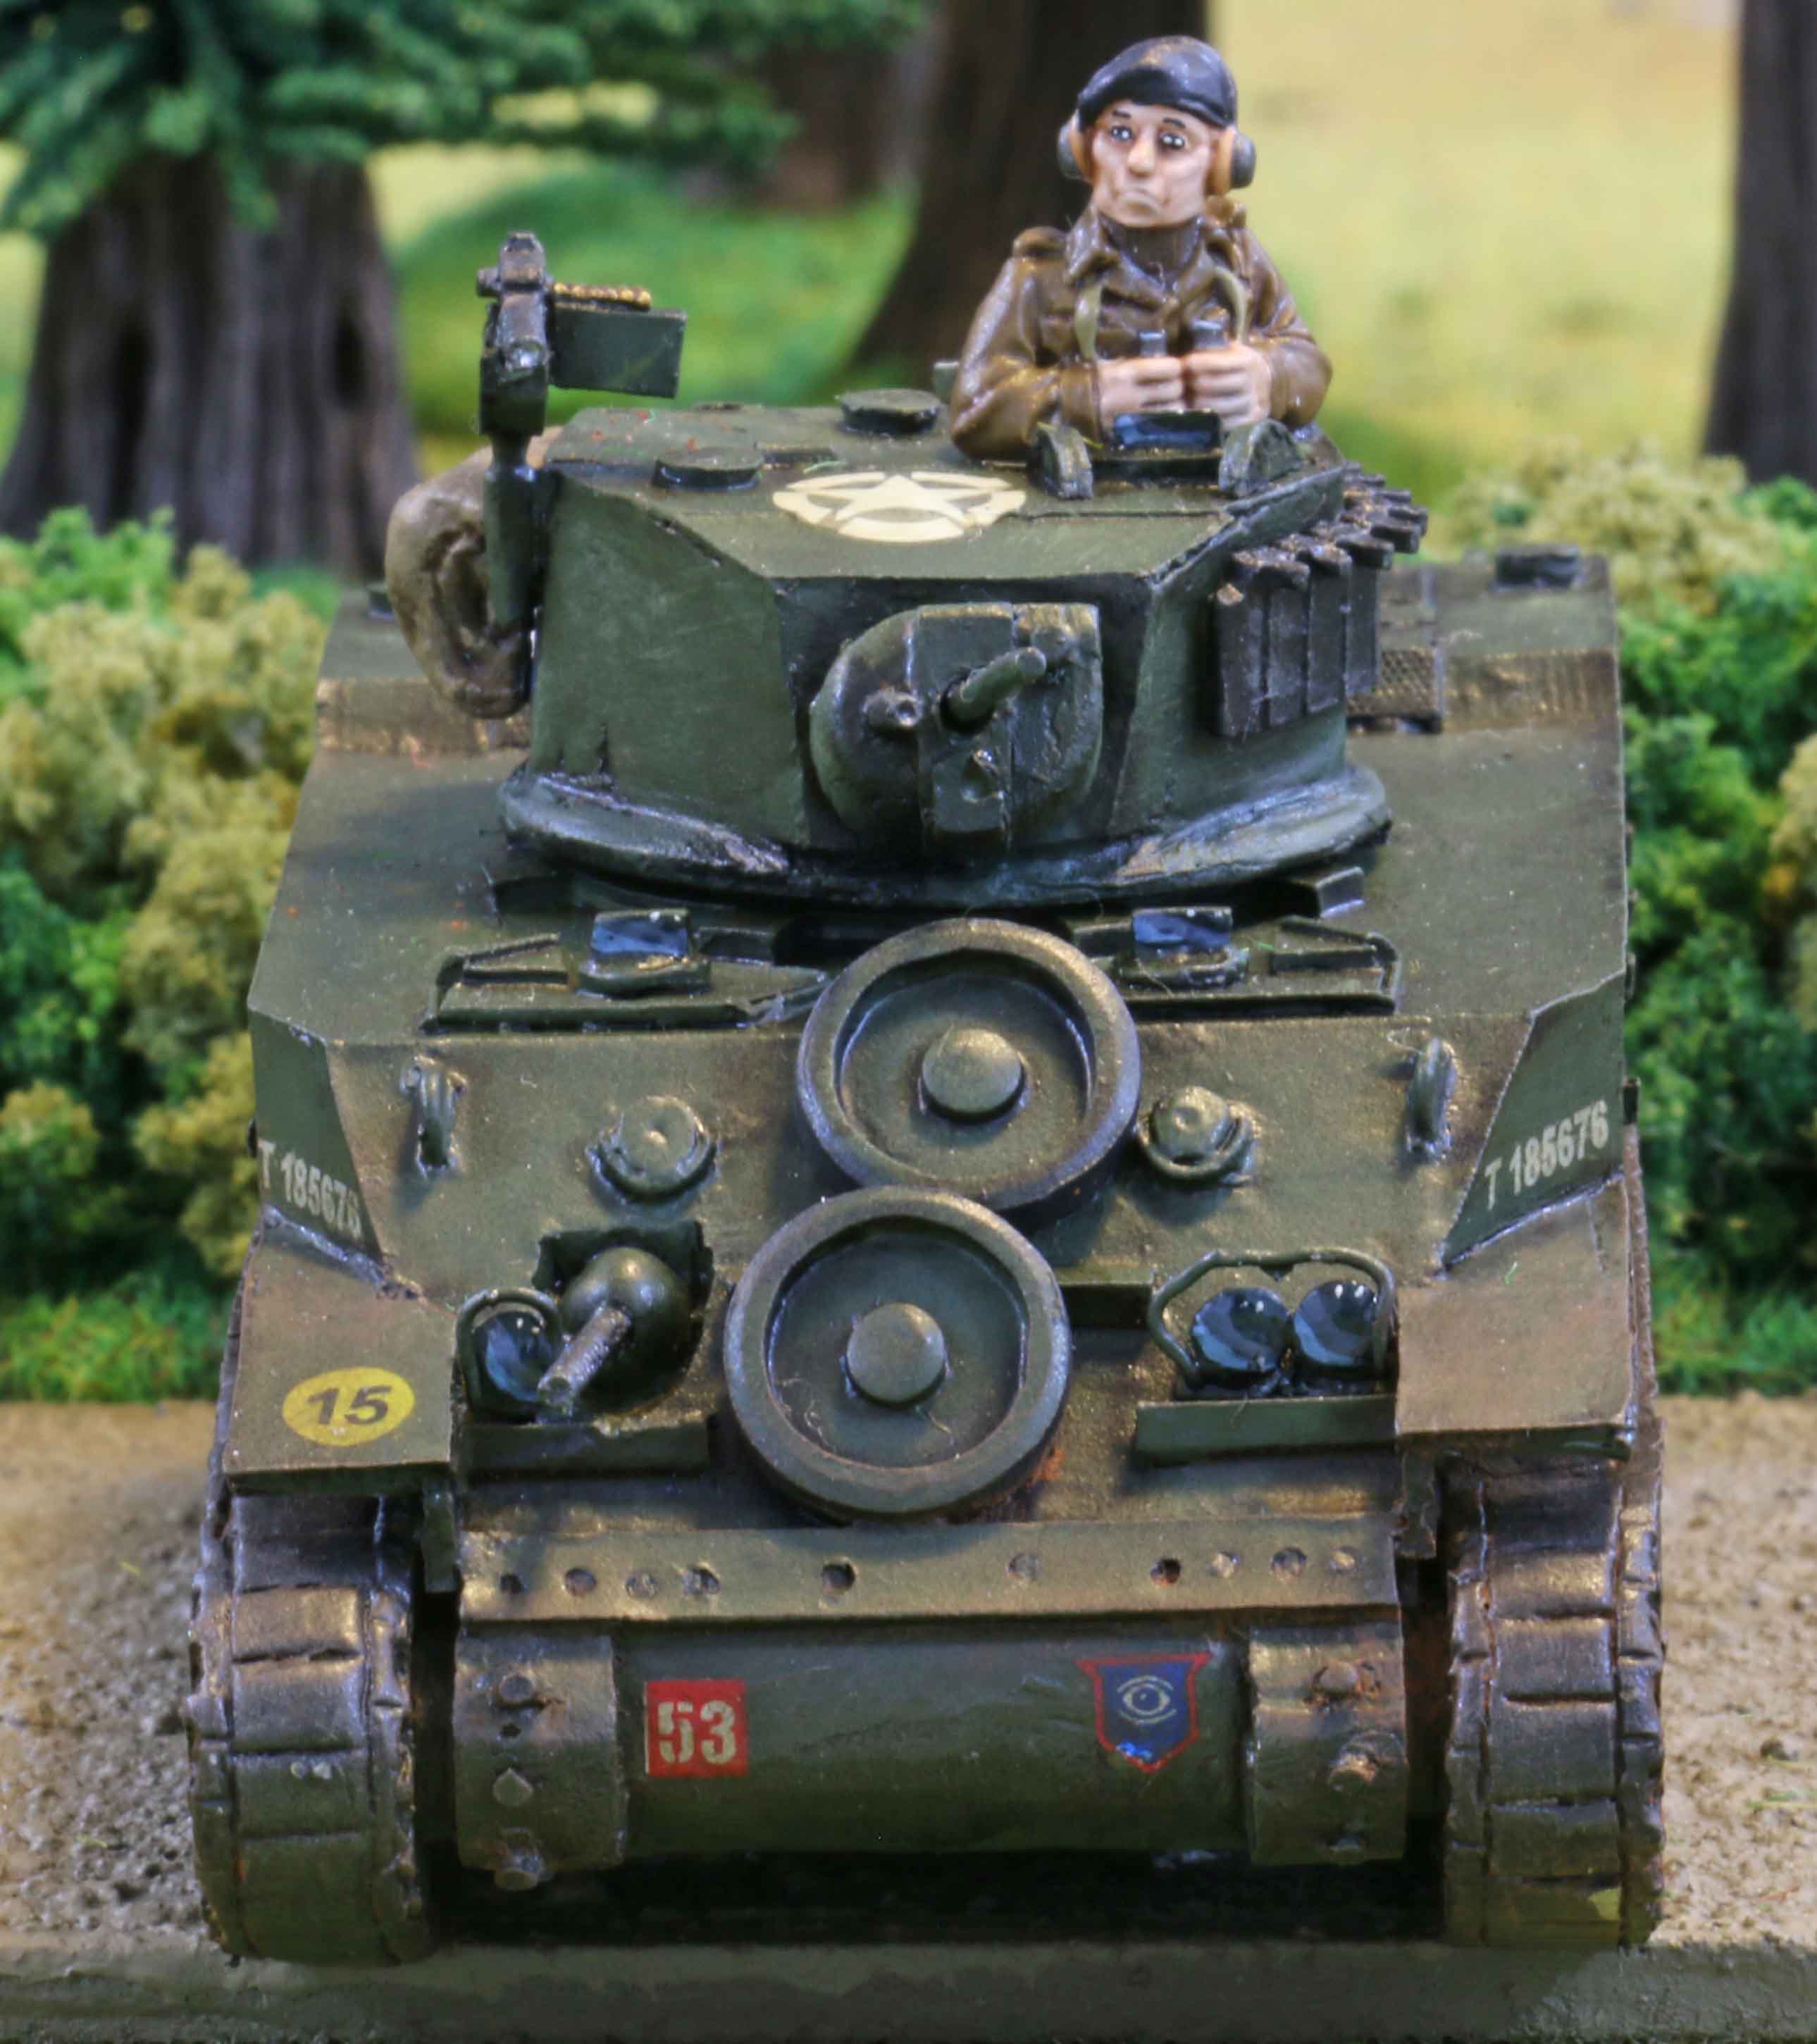
Martin and Max played the British (decided by the roll of a die). Their troops consisted of a forward headquarters on foot, a forward observer team and a scout team, each in a Bren Carrier, a veteran infantry platoon on foot (consisting of a command squad, three rifle sections, a 2″ mortar team and a combat medic) as well a troop of Shermans (two regular ones and two Fireflys) and a supply truck. The forward observers had access to a two-gun battery of 25pdr. guns and a medium priority artillery request up the chain of command.
Julian and I played the German defenders. They had a forward headquarters team and a forward observer team in a Kübelwagen each, a sniper, a grenadier platoon on foot (consisting of a command squad, three grenadiers squads, a combat medic, an HMG team with extra ammo carriers and a 7,5cm PaK40 with extra ammo carriers) and a PzKw IV H platoon with three tanks and a supply truck. The forward observers had access to a two-gun battery of 8.8cm guns and the whole force benefitted from two special abilities which raided their battle group rating (for those not familiar with the rules… the point where the whole battle group breaks).
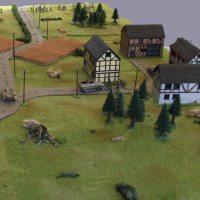
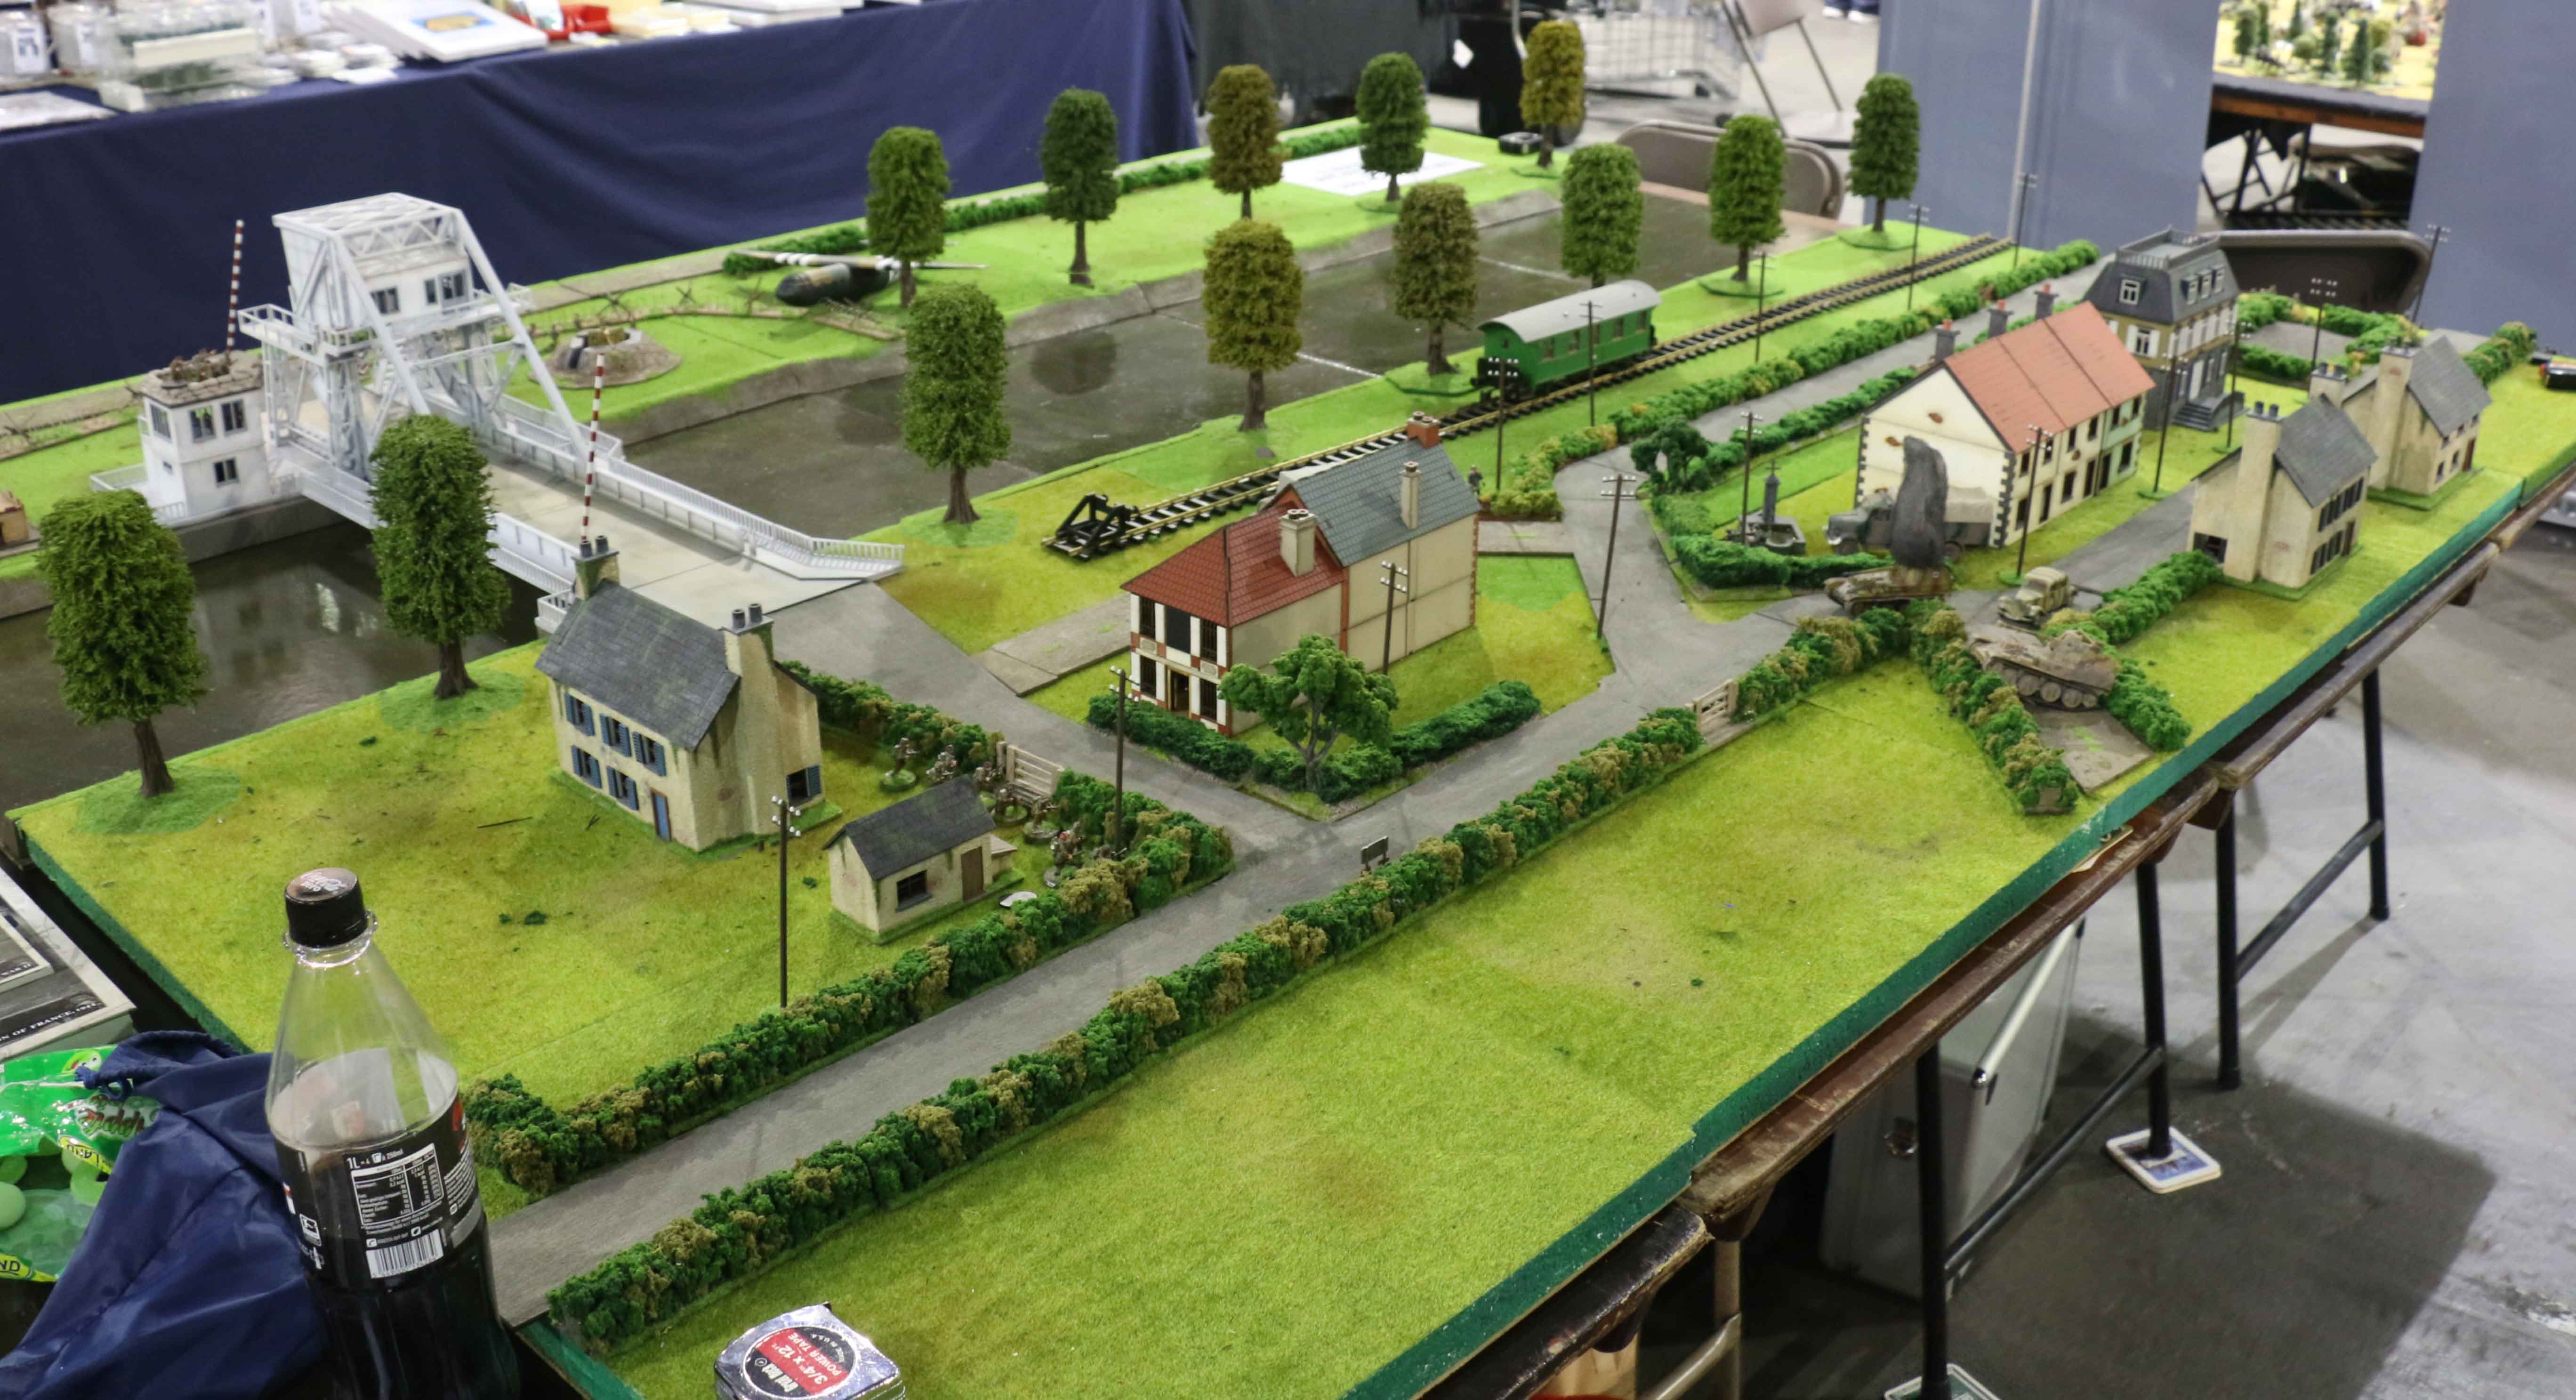
The Germans were defending a small village somewhere in the west of Germany. The village was overlooked by a large hillside on the British table edge and surrounded by woods, an orchard and some yet unplowed fields. There was also the wreck of a Tiger tank left from previous fighting. We played the delaying action scenario, which meant that either side had to bring the others battle group rating down to zero to win. If neither side had managed to do so by the end of round 9, it would be a German win, since they had managed to hold up the allies long enough. For those not familiar with the rules: each time one side looses a unit (or something just as traumatic happens) or if the other side takes an objective, it has to draw a random chit. While some indicate random events, most carry a value used to reduce the battle group rating. For completeness sake, we had four objectives on the table, but these had little importance on the game since each side took the two closest ones.
The British started with just their scout team deployed on the road leading down the hill, but would get continuous reinforcements every turn. The Germans had to roll for starting forces and did badly. So the only troops on the table were a squad of infantry, minus their LMG element hiding in one of the ruins with and objective marker, the observer team hiding in the upper floor of one of the intact houses (leaving their Kübelwagen in the front garden) and the sniper hiding under the roof of yet another house. One of the PzKw IV started on the table as well, but kept behind the row of houses not wanting to present a good target to the tons of British tanks that might come onto the table in the first round.

Table seen from the German side
The British automatically got initiative on the first round, but rolled badly for their reinforcements (just two units and they picked one of the Fireflys and the forward observer team). So the scouts just raced forward to the woods on their right flank, while the observers in the other Bren carrier raced forward to a hedge to hide there and claim their first objective marker. The Sherman just rumbled forward on the road. There was not much for the Germans to do, except for the infantry to claim to objective marker by their ruins and for the Panzer to drive towards the left flank, to get a bearing on the Firefly, while hopefully being in a position where other British tanks would not be able to get a shot at it once they arrived on table. The forward observers though called for an artillery strike on their British counterparts which was not right on spot, but close enough to pin the British observers and rattle the crew of the Firefly.

PzKw IV in firing position
The next round the Brits had the initiative (actually we just forgot to roll for it and just handed it to them). Again they rolled poorly for reinforcements and only got the forward HQ on table (with the intention of quickly unpinning the observers) and some infantry. All the British units advanced, with the exception of the scout, who just stayed put. The observers were unpinned. Now things were handed over to the Germans. They only had a 33% chance for reinforcements every turn from this the second onwards, but they got some on the first try and even 5 units at that. So onto the table came the other two PzKw IV with the supply truck as well as the PaK and HMG teams. All these advanced towards the front, with the Panzer that had already been on the table loosening off a shot at the Firefly, but missing it. Again the German observers called in their artillery and this time it was true on target blowing the Bren carrier with the observer team up and killing two of the soldiers in the British forward HQ. This meant that the British would be unable to call for artillery of their own for the rest of the game.

PzKW IV
The next round was actually quiet uneventful. The Germans just kept on advancing and the Panzer on the left flank and inside the village fired at the Sherman but found their shots just bouncing off or missing. For once during the whole game the German observers were unable to contact their off-board artillery which gave the British some respite. The German HMG team took the other objective while moving forward and that was about it. The British rolled good for reinforcements and got another infantry squad, the two regular Shermans and the supply truck on the table. The forward Firefly shot back at its assailants, but missed both its shots. Otherwise the rest of the troops just advanced.

Sherman firefly

Holy cow… the British are advancing
The next round was actually quiet with the two PzKw IV trading shots once more with the Firefly with similar results. The Panzer on the right flank advanced and began to fire at the scout team. The German artillery tried to take out the supply truck, but only managed to kick up some dirt. Again, the troops on both sides just kept advancing, with the British infantry taking another objective as well. Also the Germans moved the supply truck forward (they had previously parked it outside of view behind a row of houses) in anticipation of ammo running low on the two tanks that had seen firing for some time now.
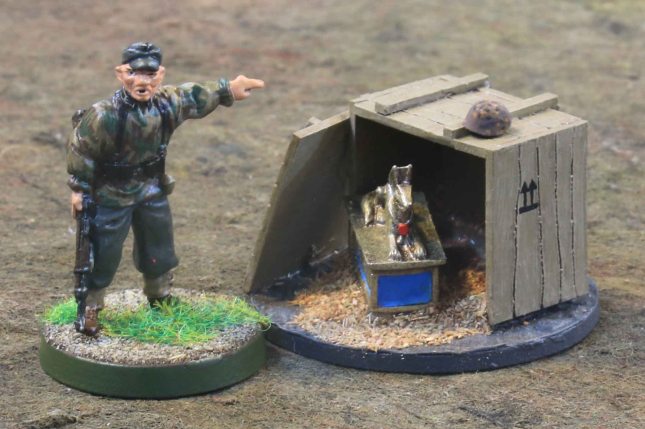
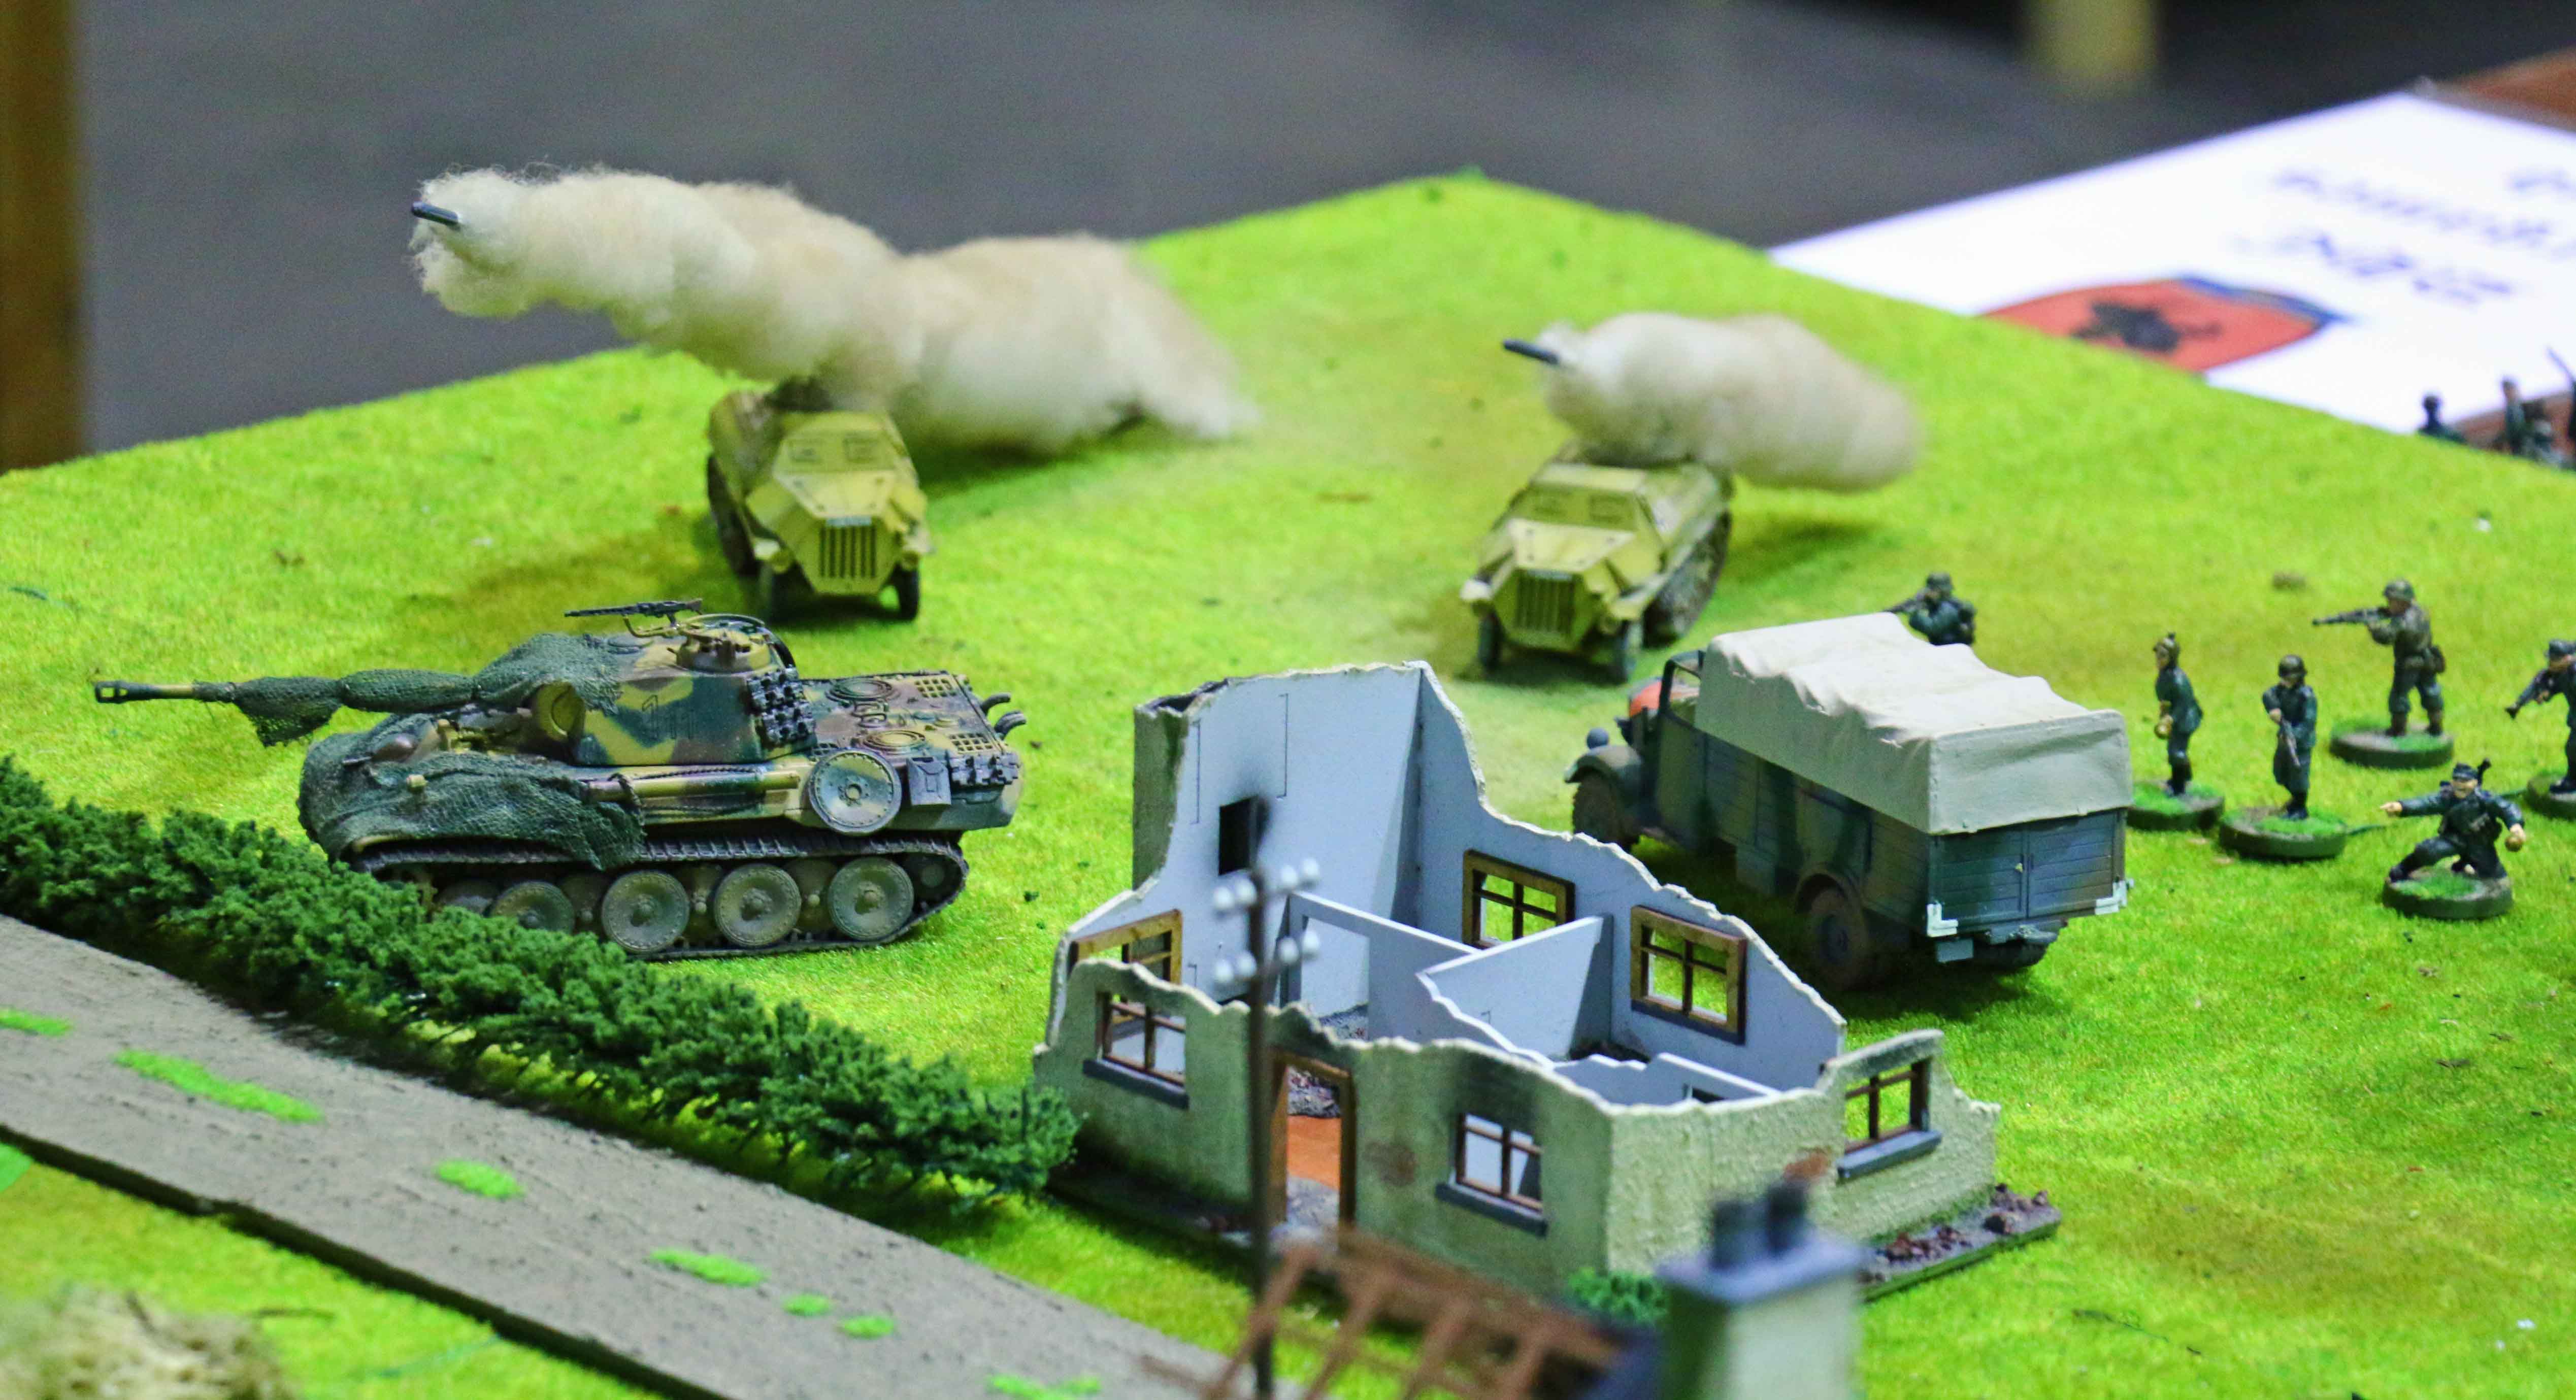
![Truck moving into position to resupply one of the PzKw IV [photo had to be edited to conform with German law]](https://dhcwargamesblog.files.wordpress.com/2014/08/truck-moving-into-position-to-resupply-one-of-the-pzkw-iv-photo-had-to-be-edited-to-conform-with-german-law.jpg?w=645&h=338)
Truck moving into position to resupply one of the PzKw IV
[photo had to be edited to comply with German law]

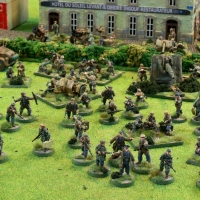
British lines
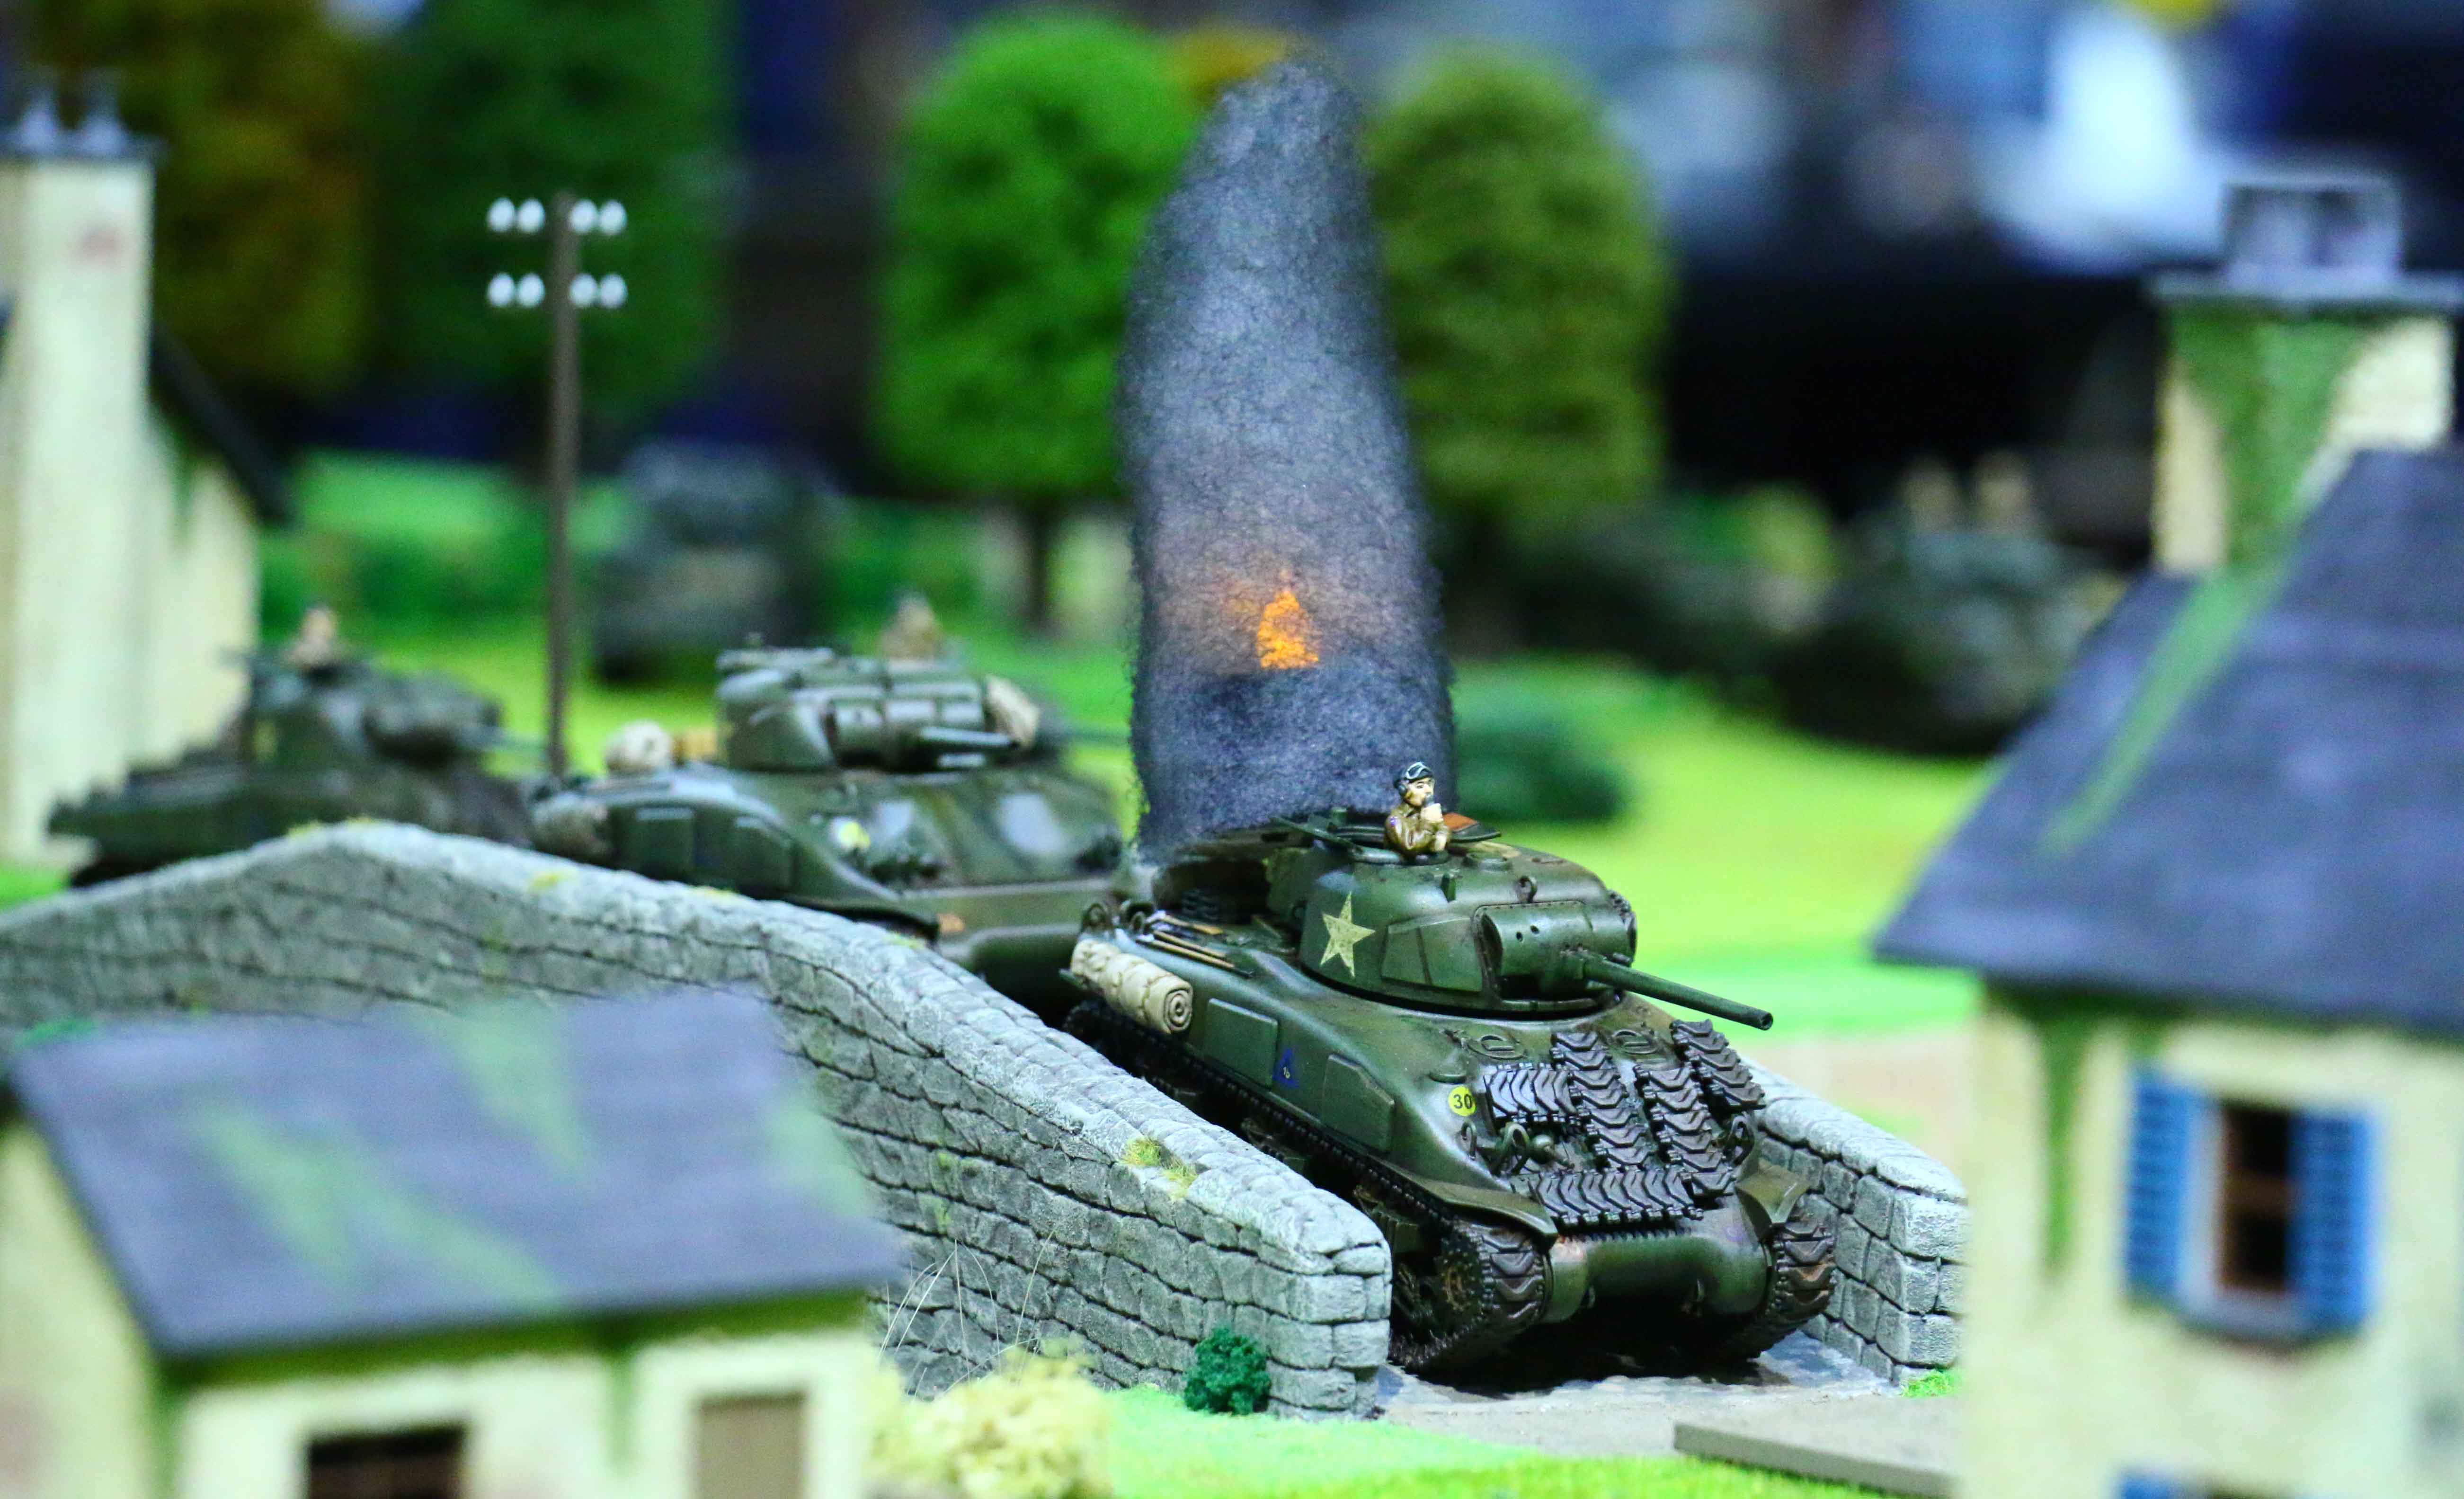
As usual, the next round began with the Germans taking initiative and again the Panzer traded shots with their targets, with the usual nonexistent results. The one on the left flank, which had started the game on table revered to take up ammo at the supply truck. The HMG team set up position in the middle of the village and the PaK moved forward for the final time on the right flank. And again the German forward observers called in artillery to take out the British supply truck. The fire only managed to shower the supply truck and the forward Firefly with dirt, but one shell landed directly on the rear Firefly, setting it on fire. The British also got their final reinforcements on table.

View from the village towards the British

That is why the Germans called it the “Tommie Toaster”
On the British side the infantry and regular Shermans advanced, the later to finally get within firing range. The remaining Firefly got off one shot before it ran out of ammo. And this shot hit the freshly reloaded Panzer, punched through and exploded it, too. The British were happy that they finally had been able to destroy a German target, but it was short-lived, when we drew an Air Attack counter instead of one that would reduce the German battle group rating. But no German plane showed up, so at least no insult was added to injury.

British advance
The next round saw the Brits actually win initiative the only time during this game. They rolled poor on orders and so there was only a limited advance. The Firefly was resupplied, while the lead Sherman fired at the PzKw IV in the village and set it on fire, too. Again Martin and Max rejoiced the fact that the Germans had to draw a chit, but this time insult was indeed added to injure, since Julian drew a Breakdown counter, which resulted in the remaining Firefly to run out of fuel, being immobilized for the rest of the game.
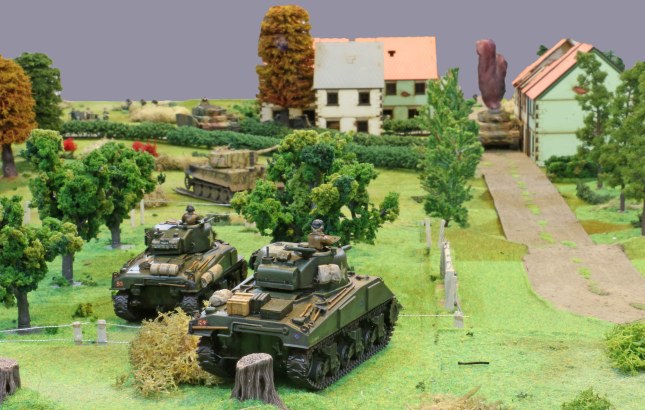
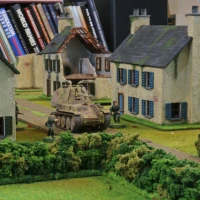
Shermans advancing on the village
With initiative shifting over to the Germans, the artillery now started concentrating on the poor bloody infantry, wiping out half a squad on the British left in the process. The PaK finally opened up as well, but missed all three shots directed at the lead Sherman. The remaining Panzer fired at the Sherman as well, but failed to hit. But as an icing on the cake, the Germans finally got further reinforcements, too. So now the forwards HQ, one more infantry section and all three infantry sections LMG teams entered the table as well.

PaK 40
During the eighth round we saw more of what we had seen before… tanks and AT guns fringe at one another, but hitting nothing. Again the German artillery shifted targets to the scout team still hiding in the woods. This time their fire scattered badly, but landed virtually directly on the 2″ mortar team which had been sneaking up through the woods, wiping it out. With only one round to go and hardly any chance to bring the Germans to breaking point, the British decided to call it a day. Which was probably a good idea, since the German battle group rating was only down to 31 (from 37), while the British was down to 8 (from 32).

Shermans in the orchard
It was a bit sad, that on the German side the only damage was dealt out by the artillery and on the British side only by the tanks. But this was mostly down to the dice luck. Another deficit (and this was entirely my fault), was to give the British infantry no transports, which kept them out of firing range for the game, once we Germans were happy to stay inside the village. I guess i must really tackle some Kangaroo models or another M5 soon so we can use a whole mobile platoon for late war games soon.

PzKw IV in the village
But I think, that it still was a fun and taxing game. Had the British managed to keep their observers in the game (or even fired at ours), this could have turned around easily and Julian and I certainly felt that spectre hanging over heads.


![Truck moving into position to resupply one of the PzKw IV [photo had to be edited to conform with German law]](https://dhcwargamesblog.files.wordpress.com/2014/08/truck-moving-into-position-to-resupply-one-of-the-pzkw-iv-photo-had-to-be-edited-to-conform-with-german-law.jpg)